
Citizen Lash
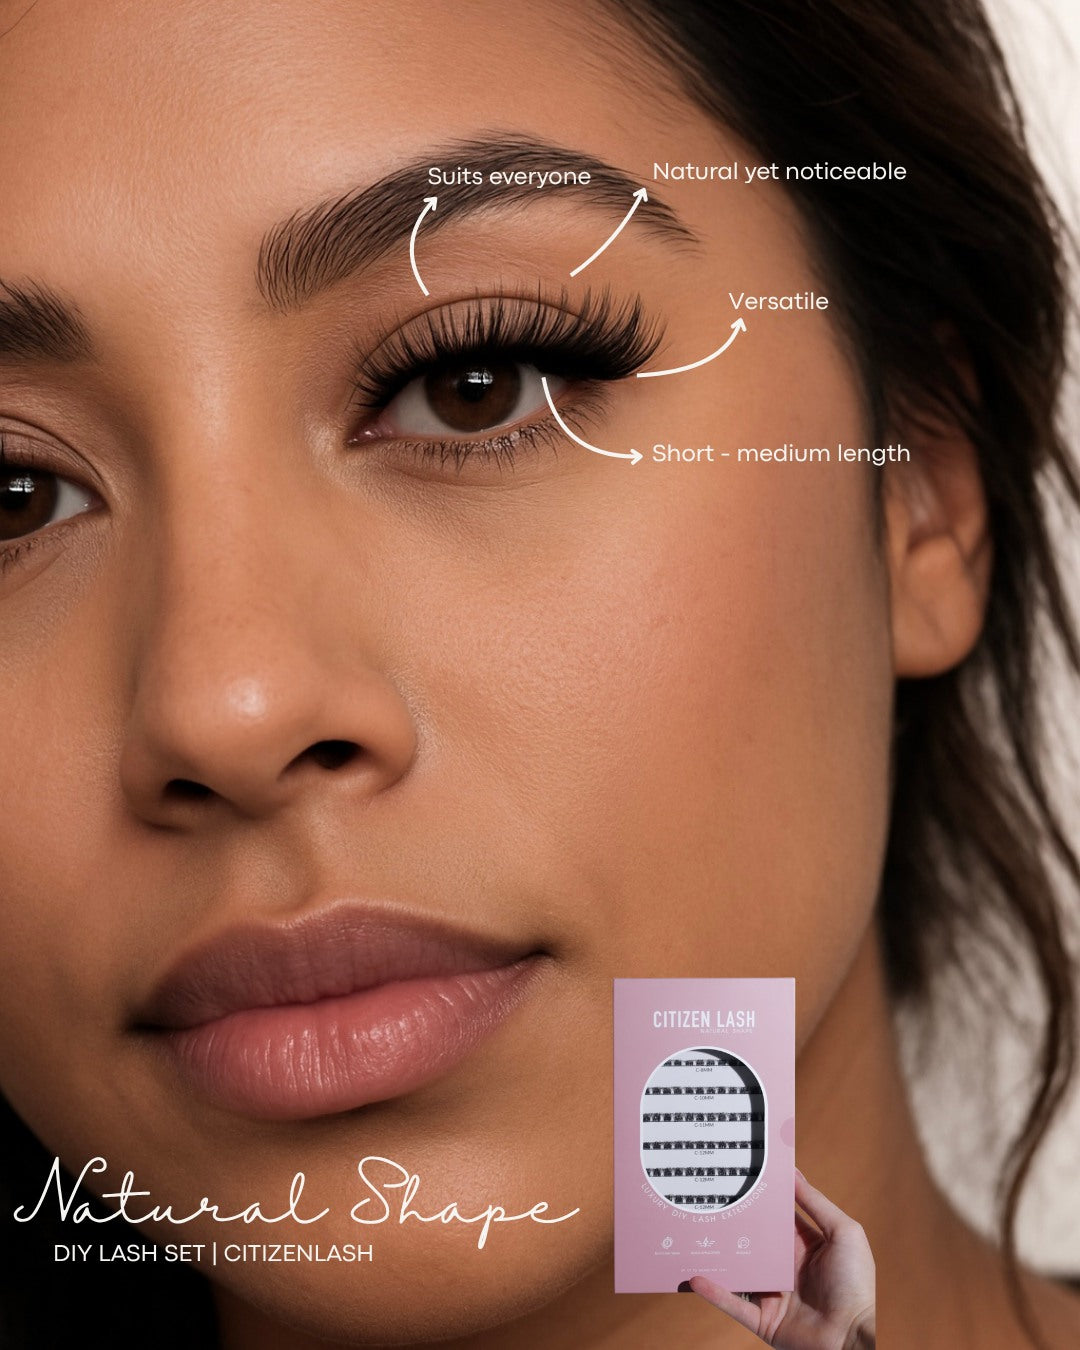
Natural Shape
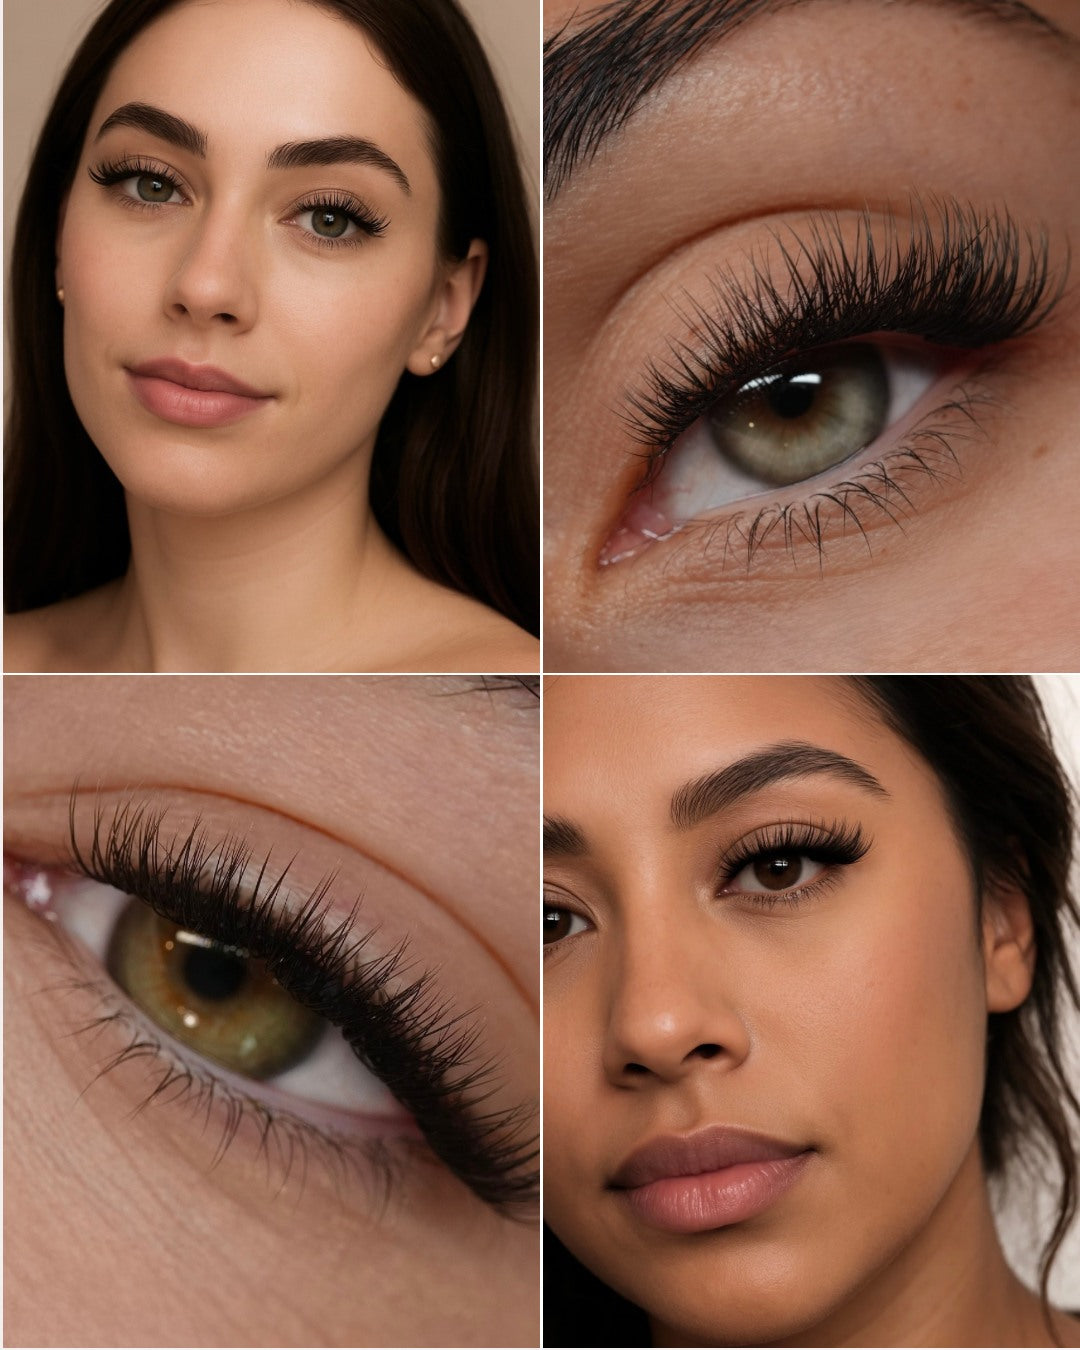
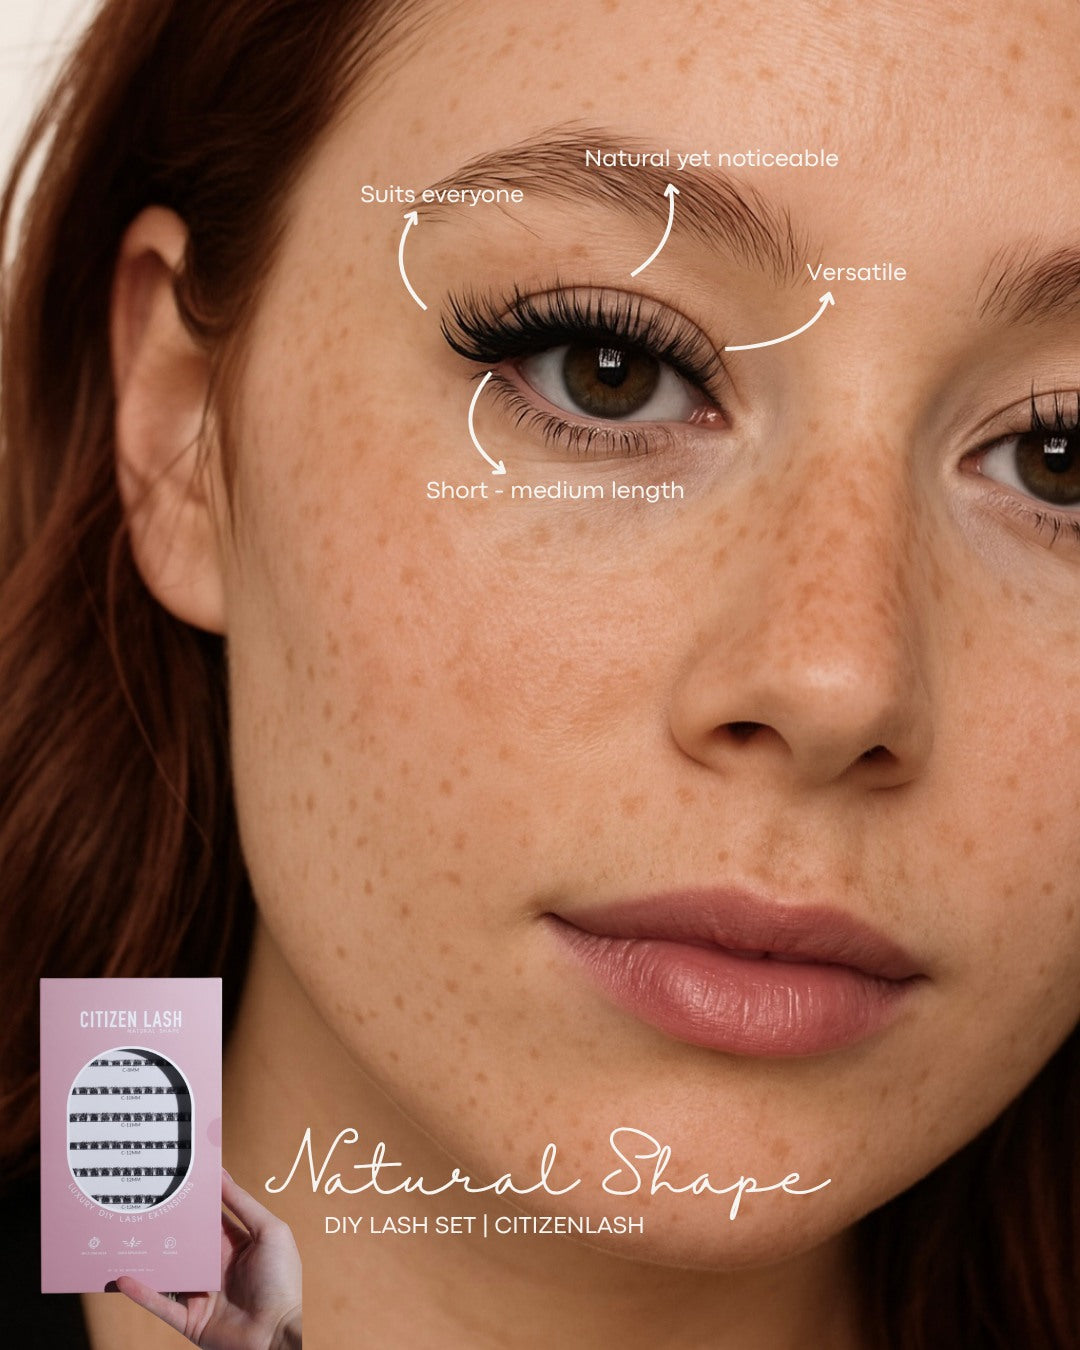
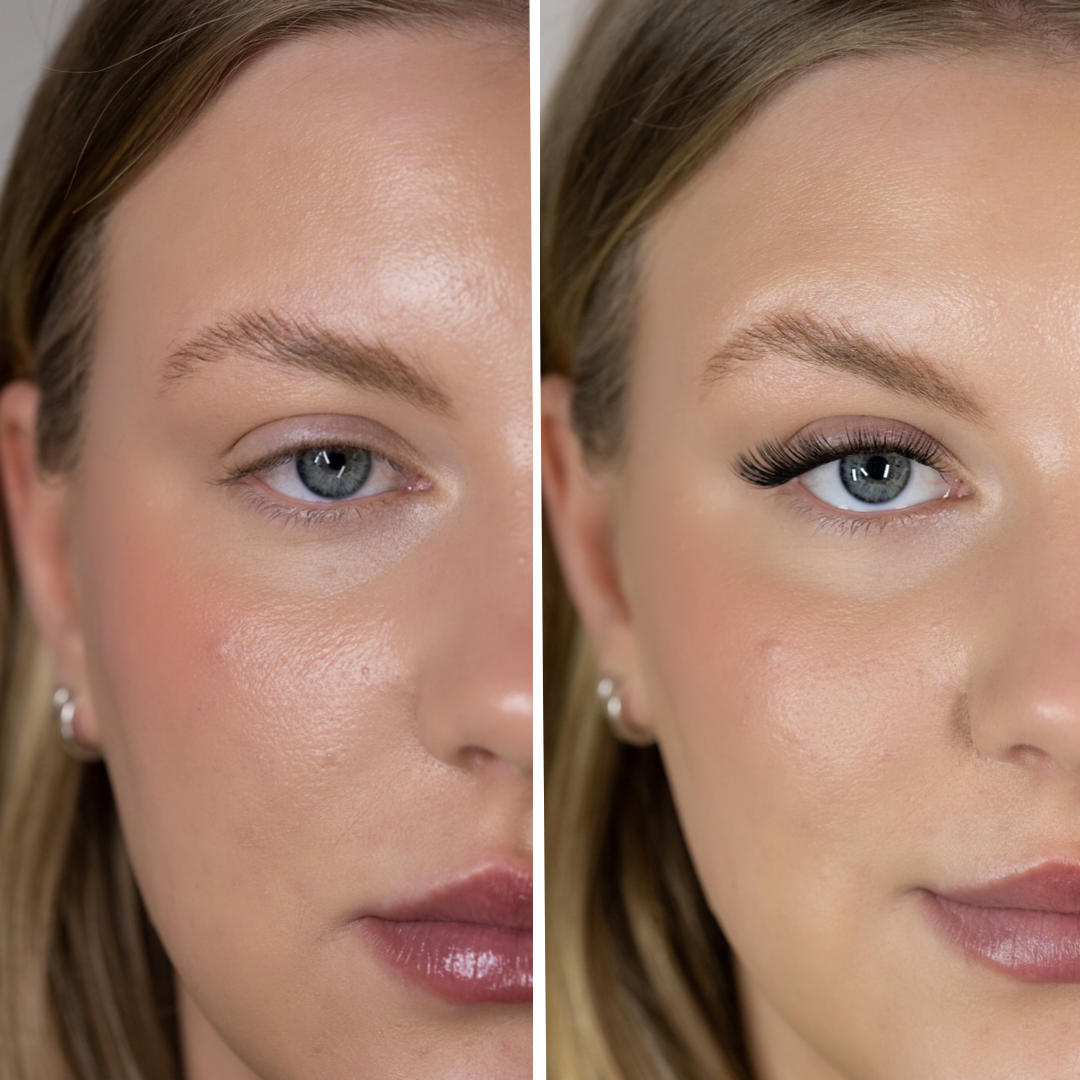
Our most versatile DIY lash option. The best place to start if you are not sure what you want.
Natural Shape
A 10109 McDonald Park Road Sidney
10109 McDonald Park Road
Sidney BC V8L 5X5
Canada
The same Natural Shape lashes you love, now with upgraded packaging.
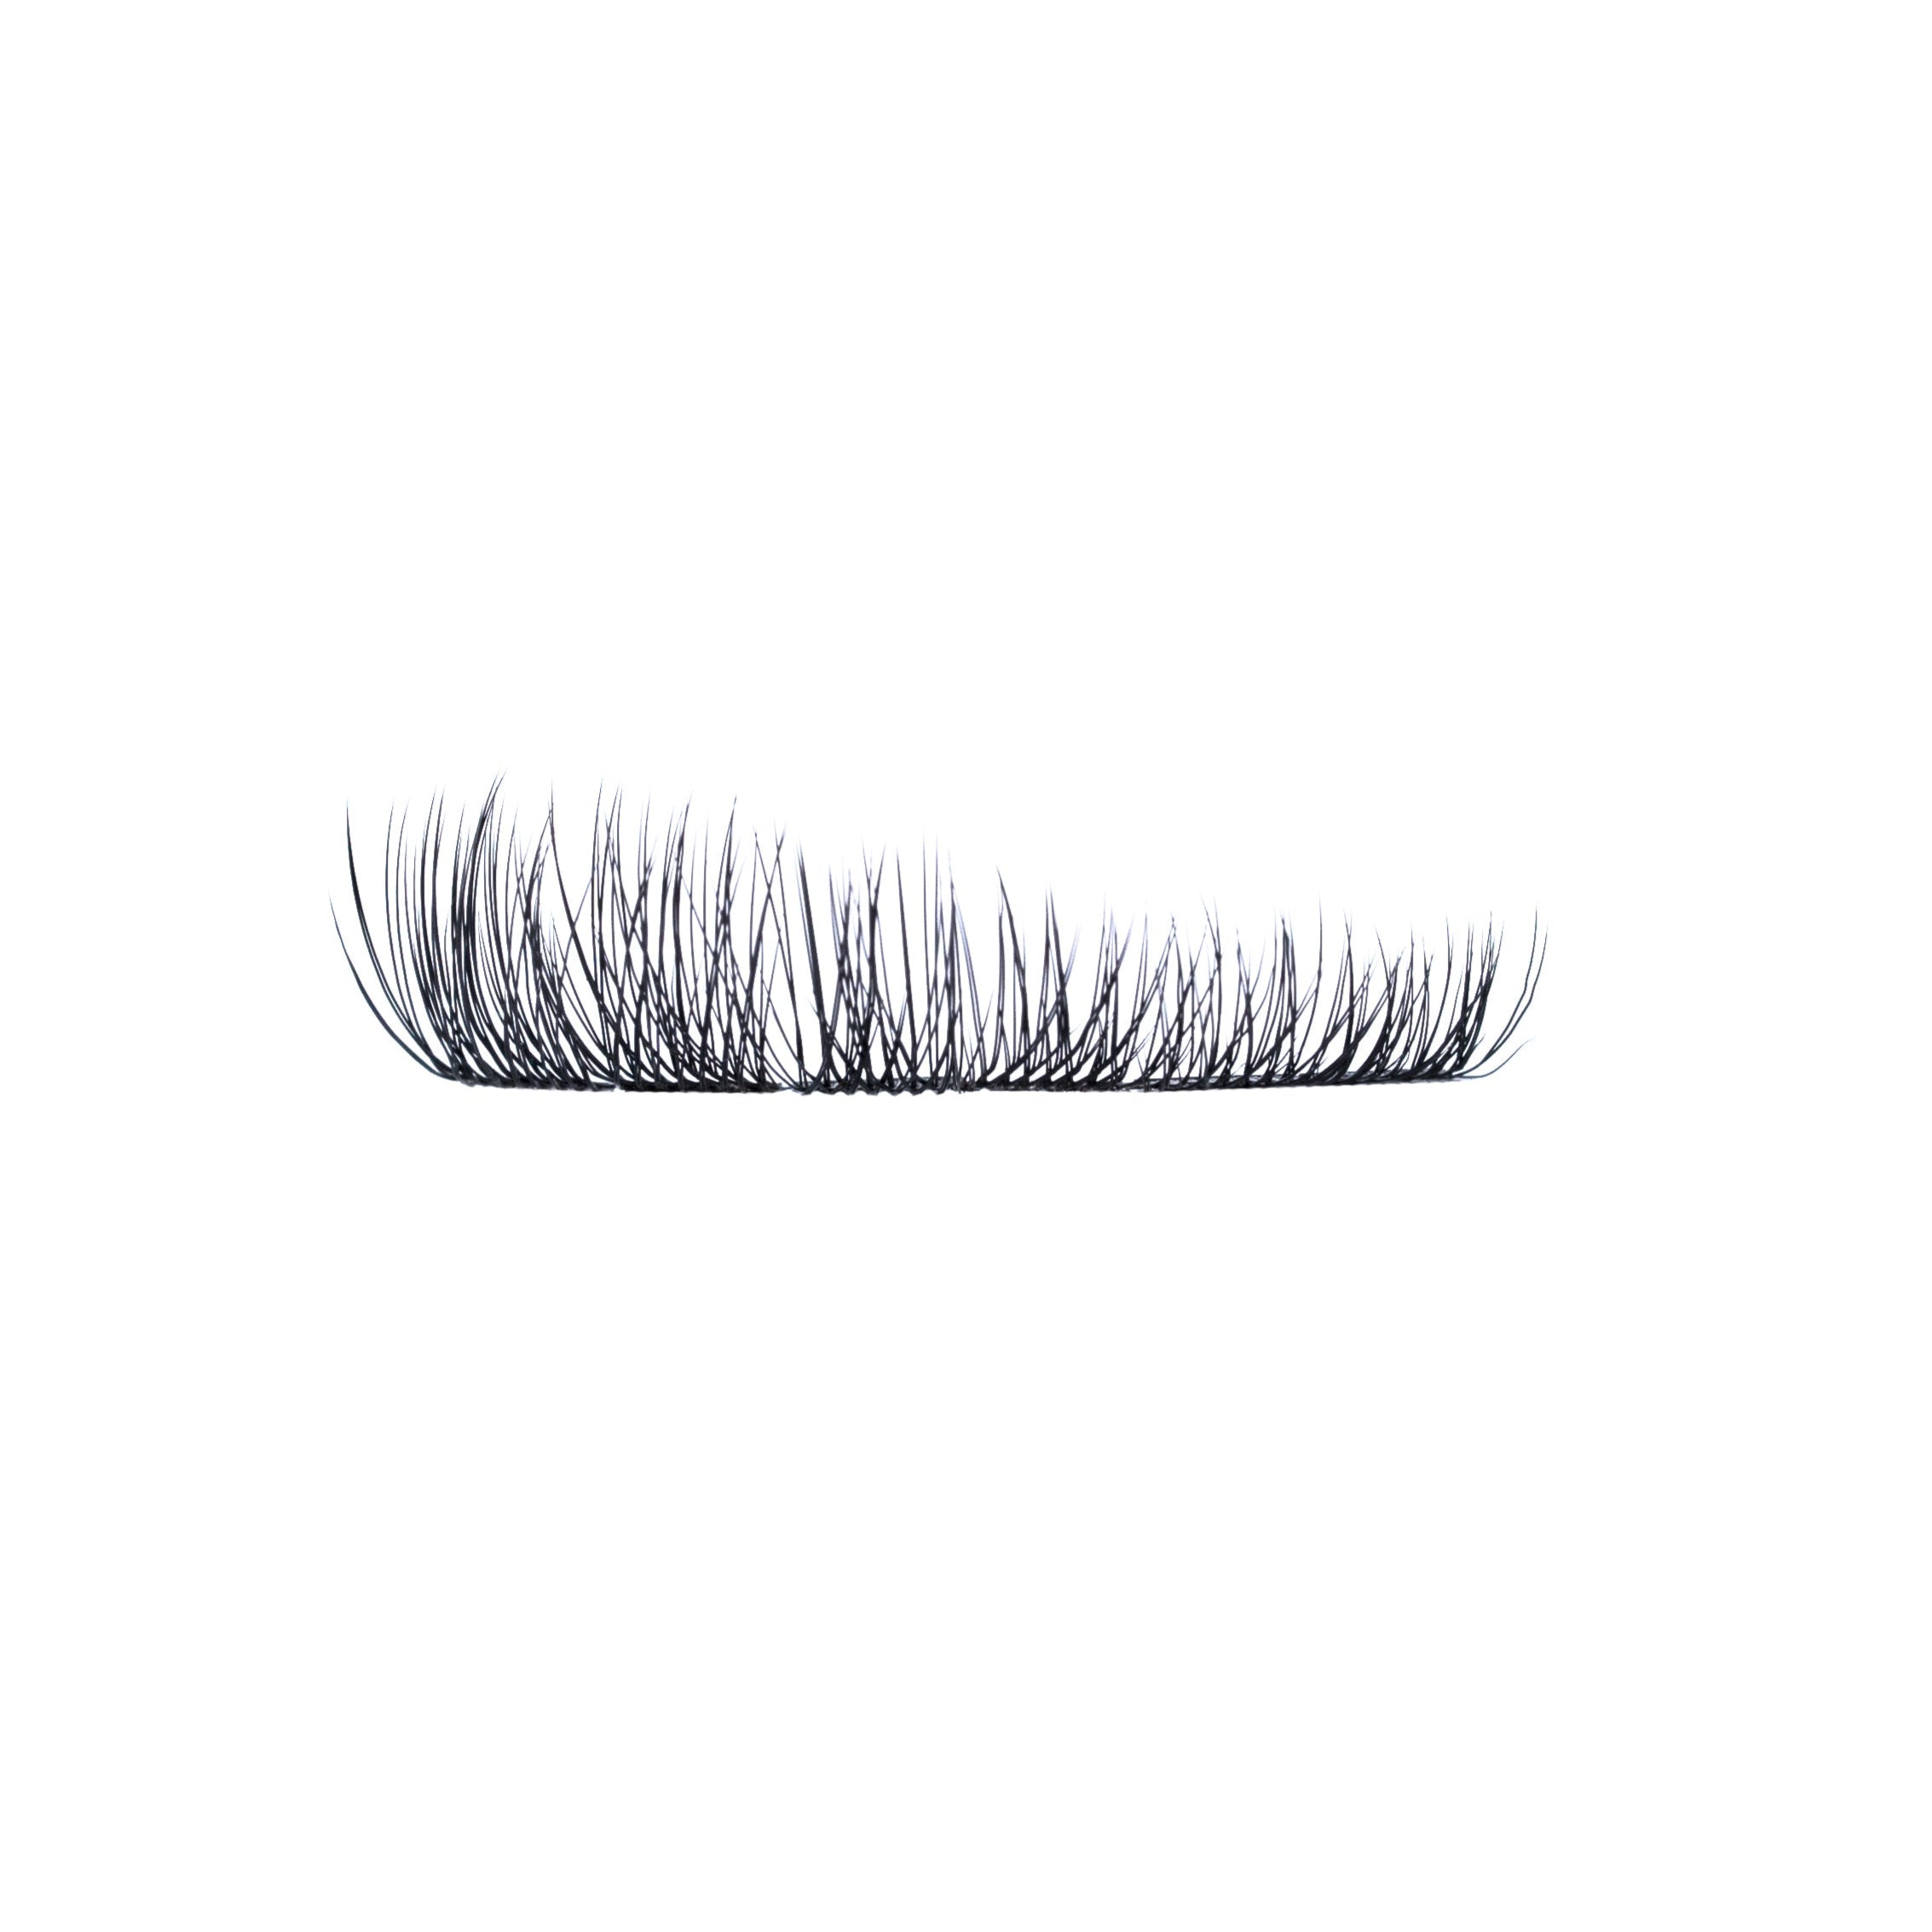
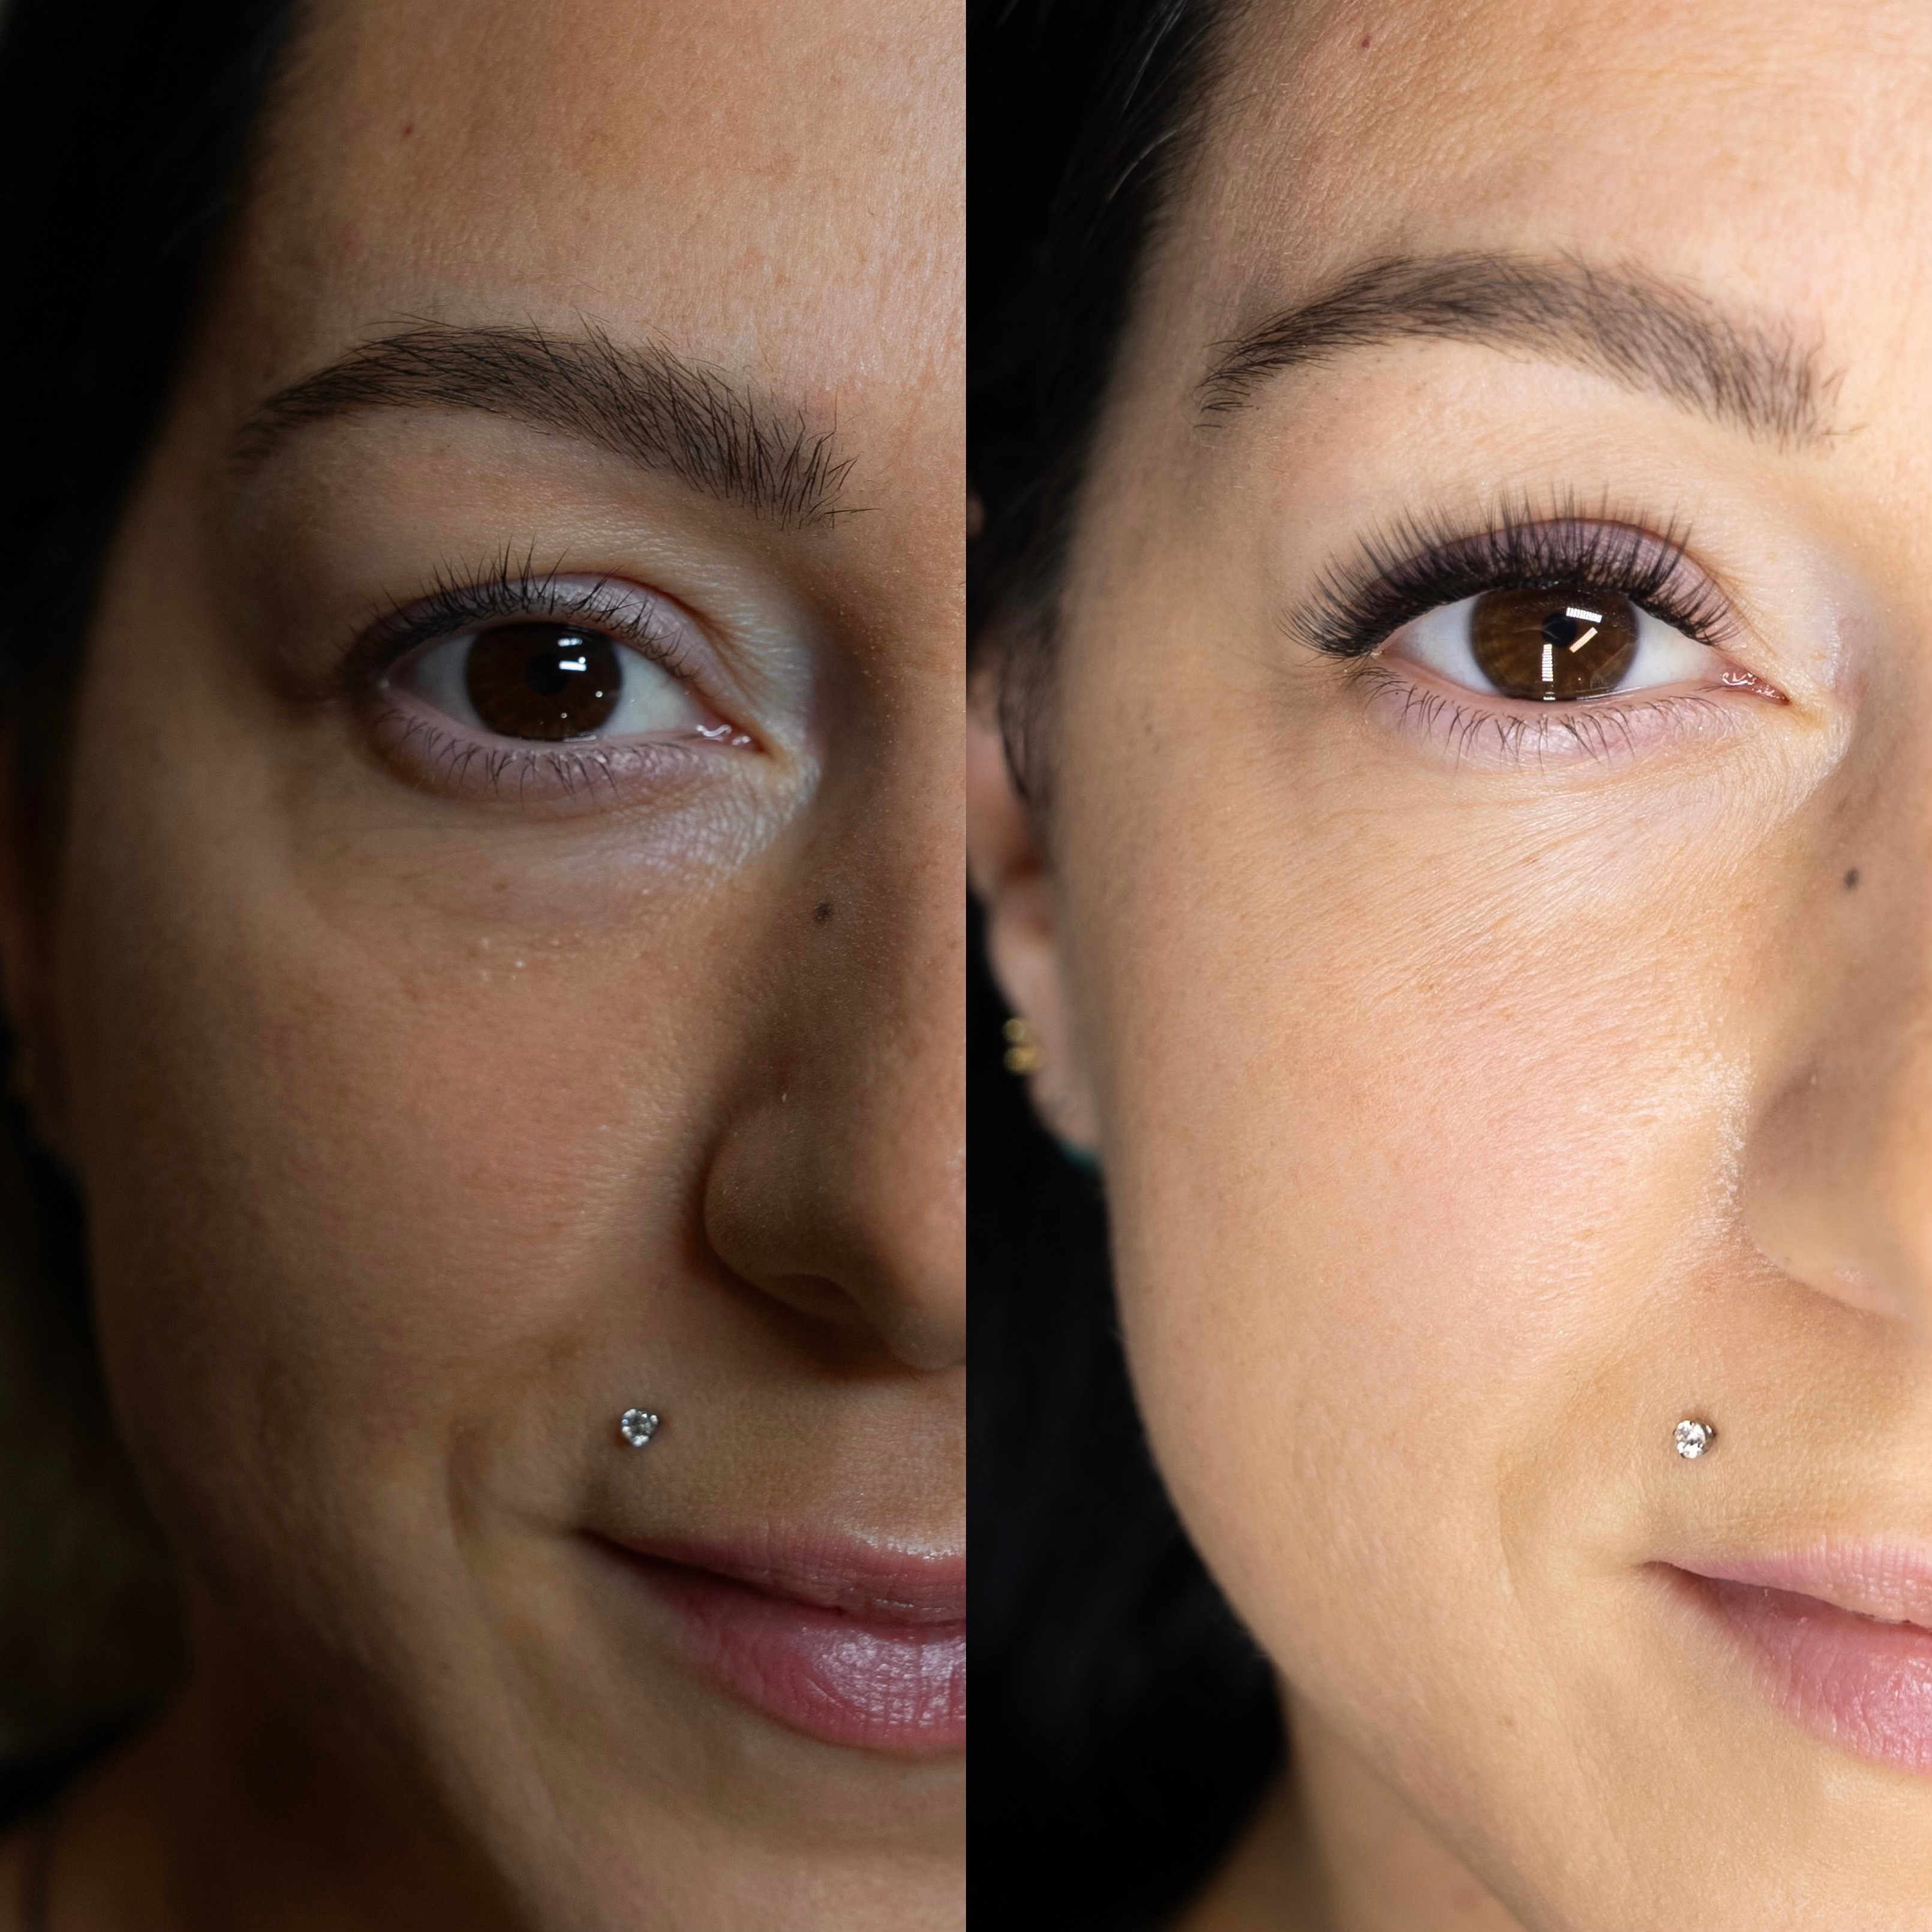
DIY eyelash extensions (also known as temporary lashes, semi-permanent or false lashes) are individual lash clusters that are easily applied one by one to the under or upper side of the natural lash line with a semi-permanent adhesive. The Citizen Lash system helps to create longer, fuller looking lashes that will last up to 5 days without removal. To apply an entire lash set, place anywhere from 2-6+ lash clusters to each eye. Each lash set is reusable up to 10+ times and the learning curve for DIY lashes is not extensive, anyone can do it.
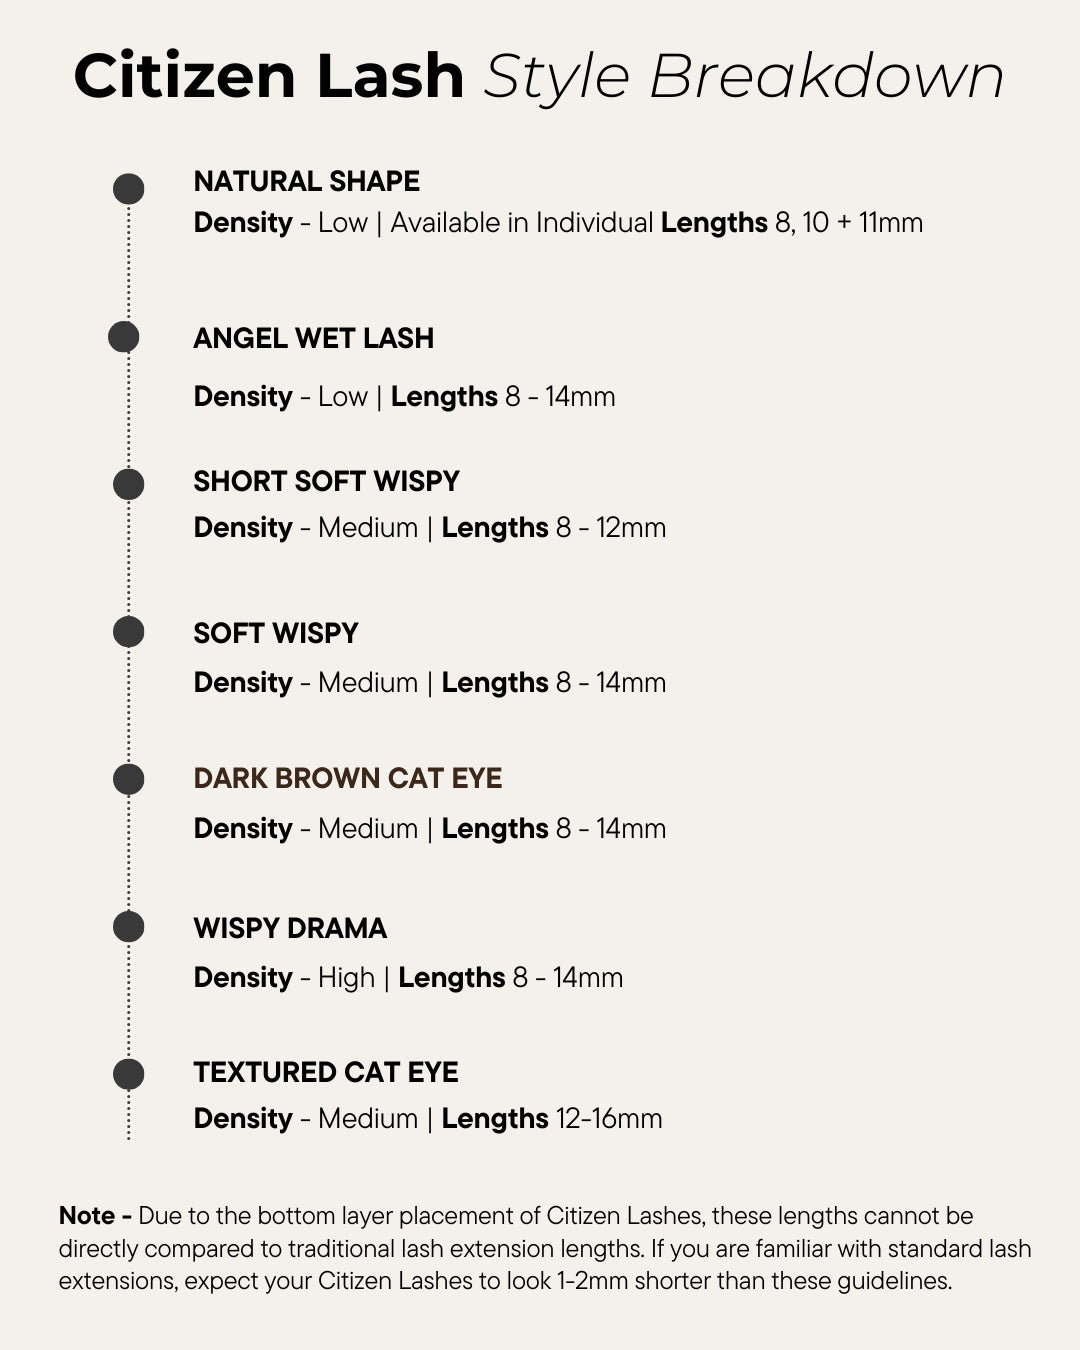
- Density: Low / Length: Low
- Vegan
- Eco-friendly packaging
- Cruelty free
- Comfortable all day wear
- Small flexible bonding band
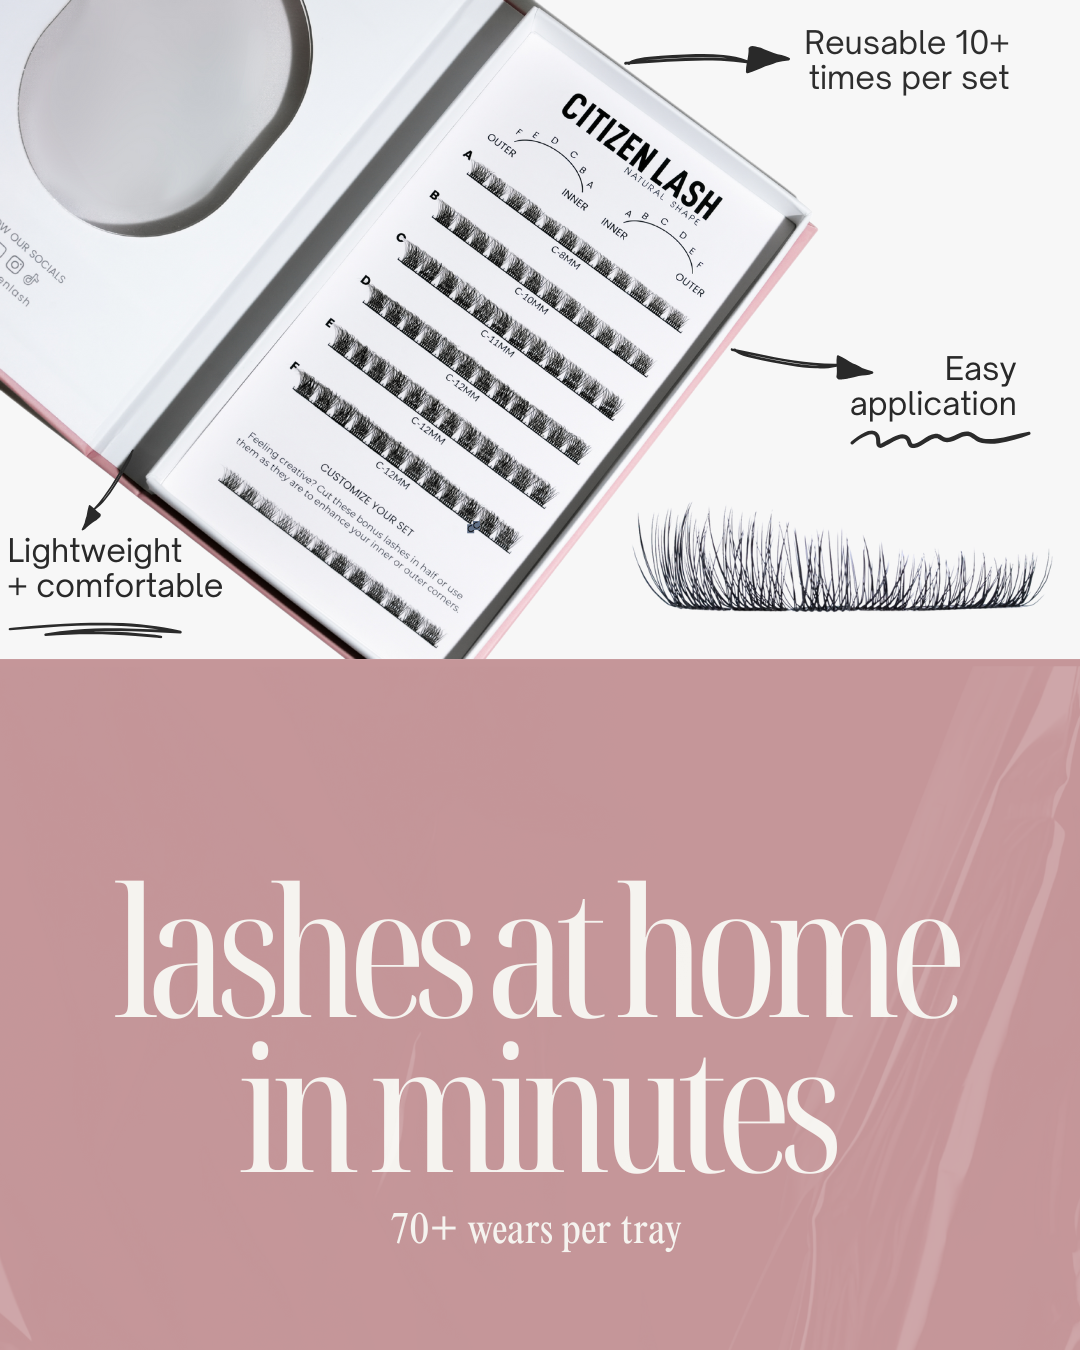
- Each set can be used 10+ times
- There are 6 full sets per tray plus an additional full set of Minis
- Minis can be used for an ultra natural look, add to a mascara look to create a bit of extra texture or drama
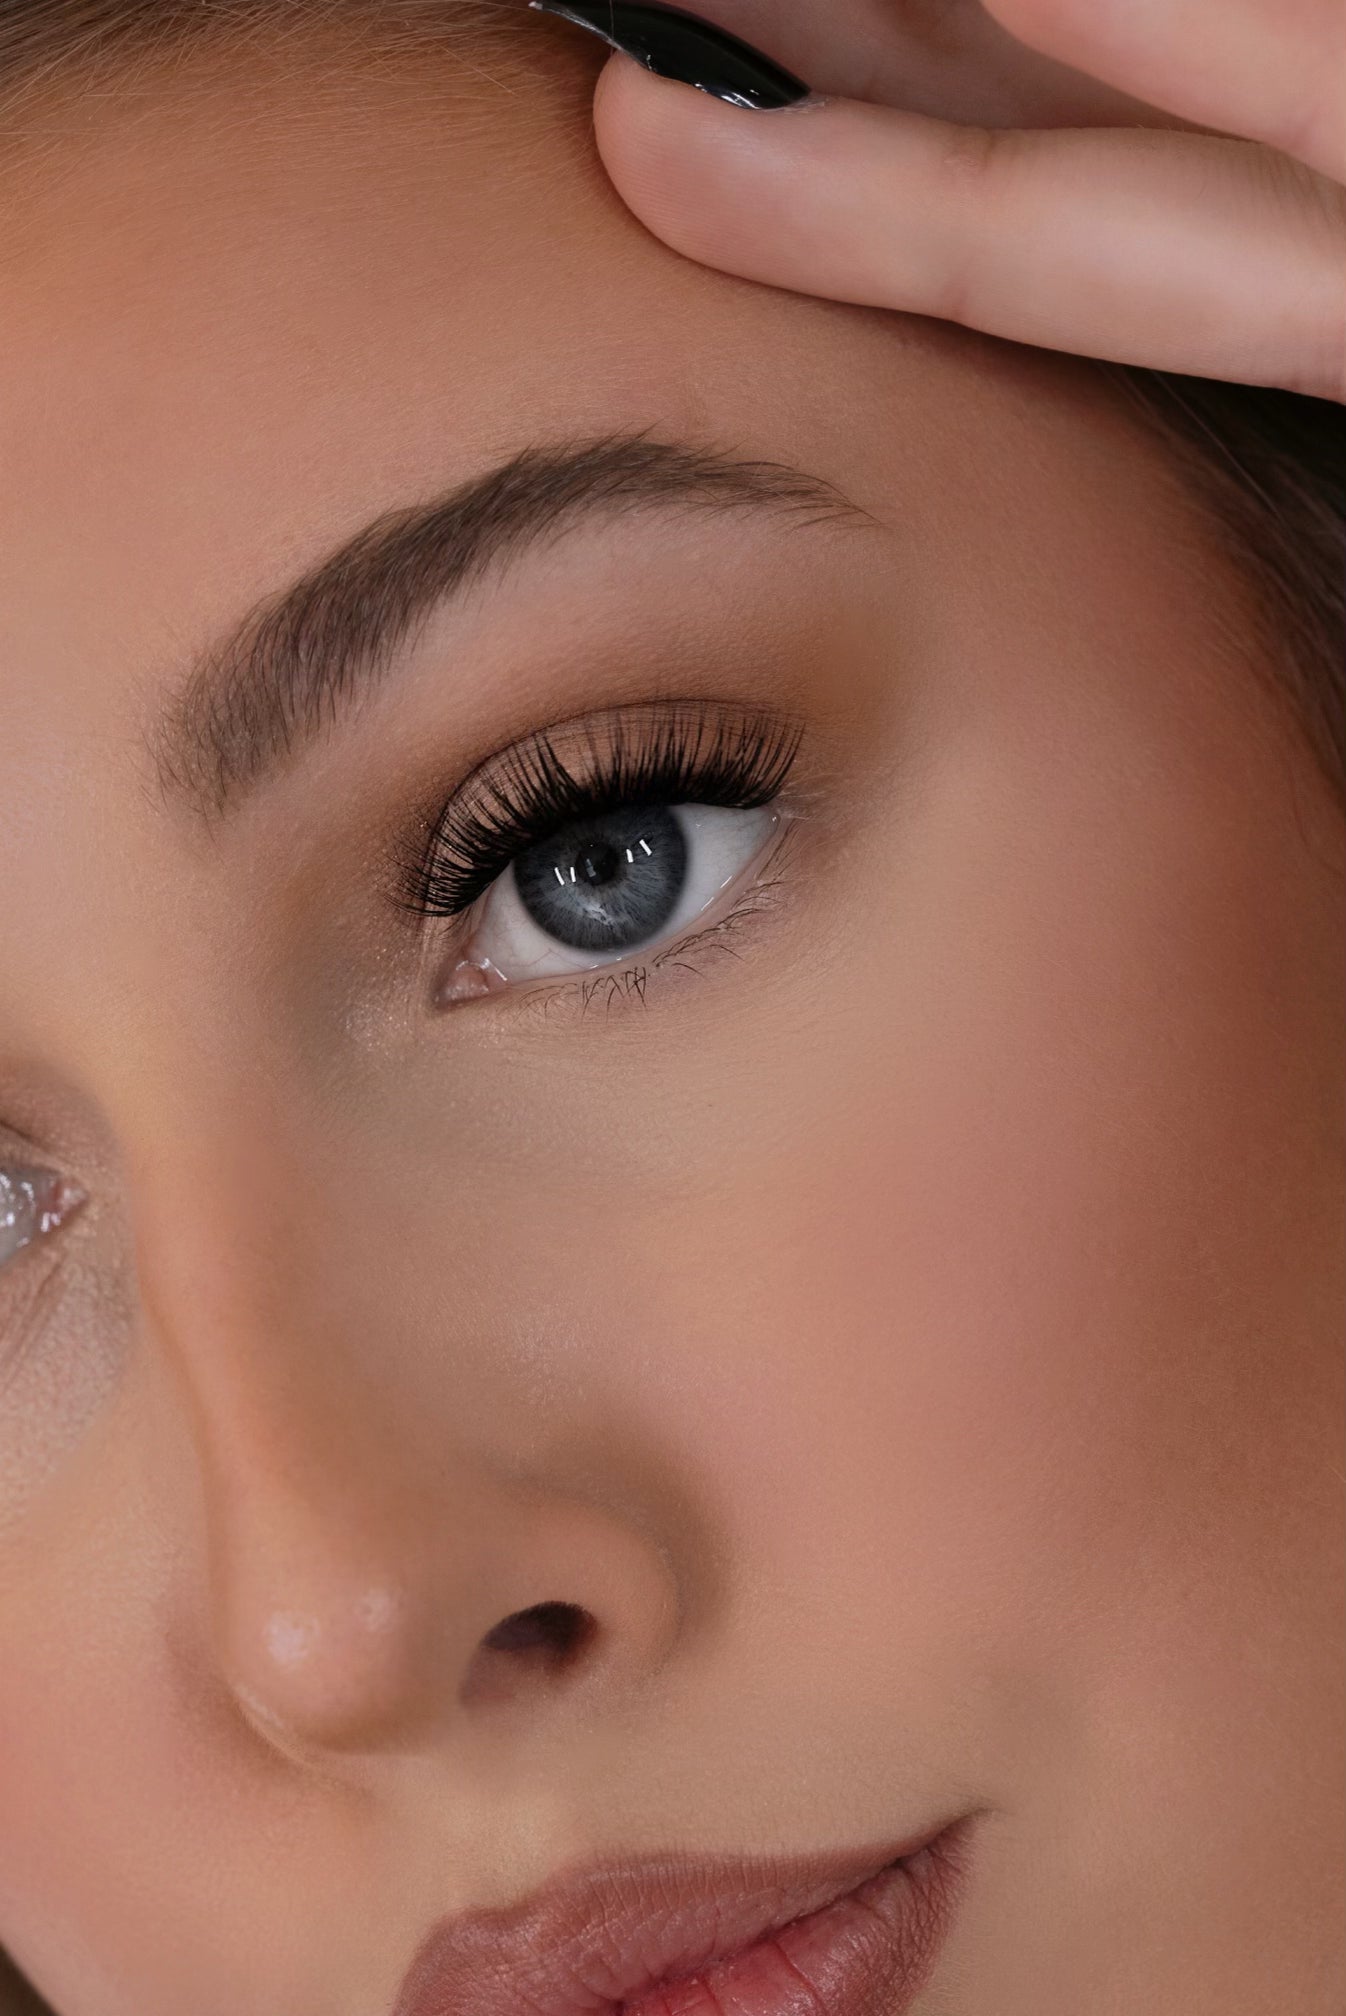
- A flick at the outer corner of the eye for a bit of an eyeliner effect
- The lightest every day lash finish
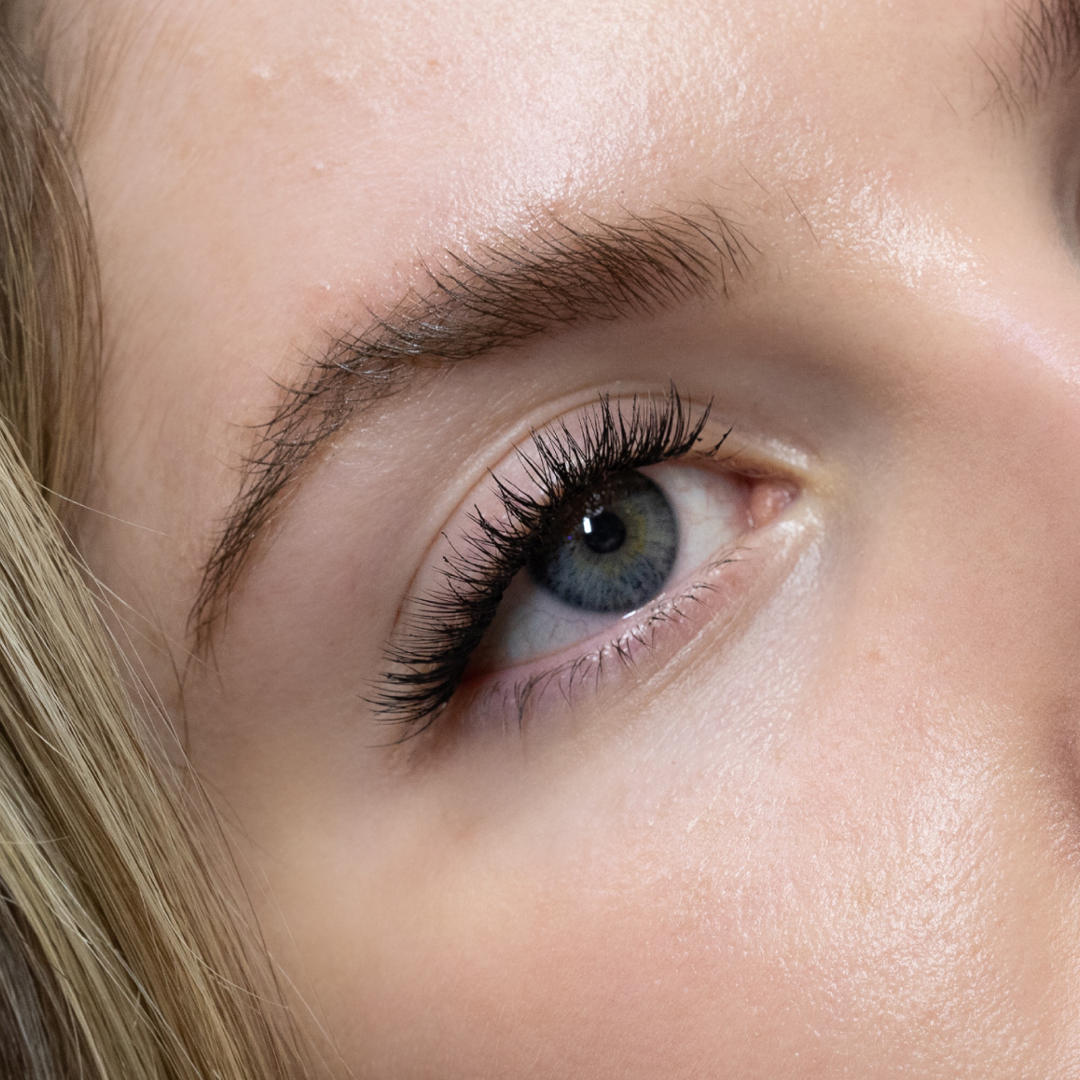
- Textured pieces across the eye - with or without fans
- Each tray (if cared for properly) can get 60+ wears, making each wear cost as little as $0.66
- Can stay on for multiple days, however, for sanitary purposes we recommend removing them nightly
- Versatile lash placement - can be placed on top or underneath lash line
- Multiple looks can be achieved with each tray
- For more of a dramatic look with any of the lash styles, stack fans by sandwiching the natural lashes between a top and bottom layer of extensions
1. Multi-Day Wear:
Prep your natural lashes for a long lasting hold.
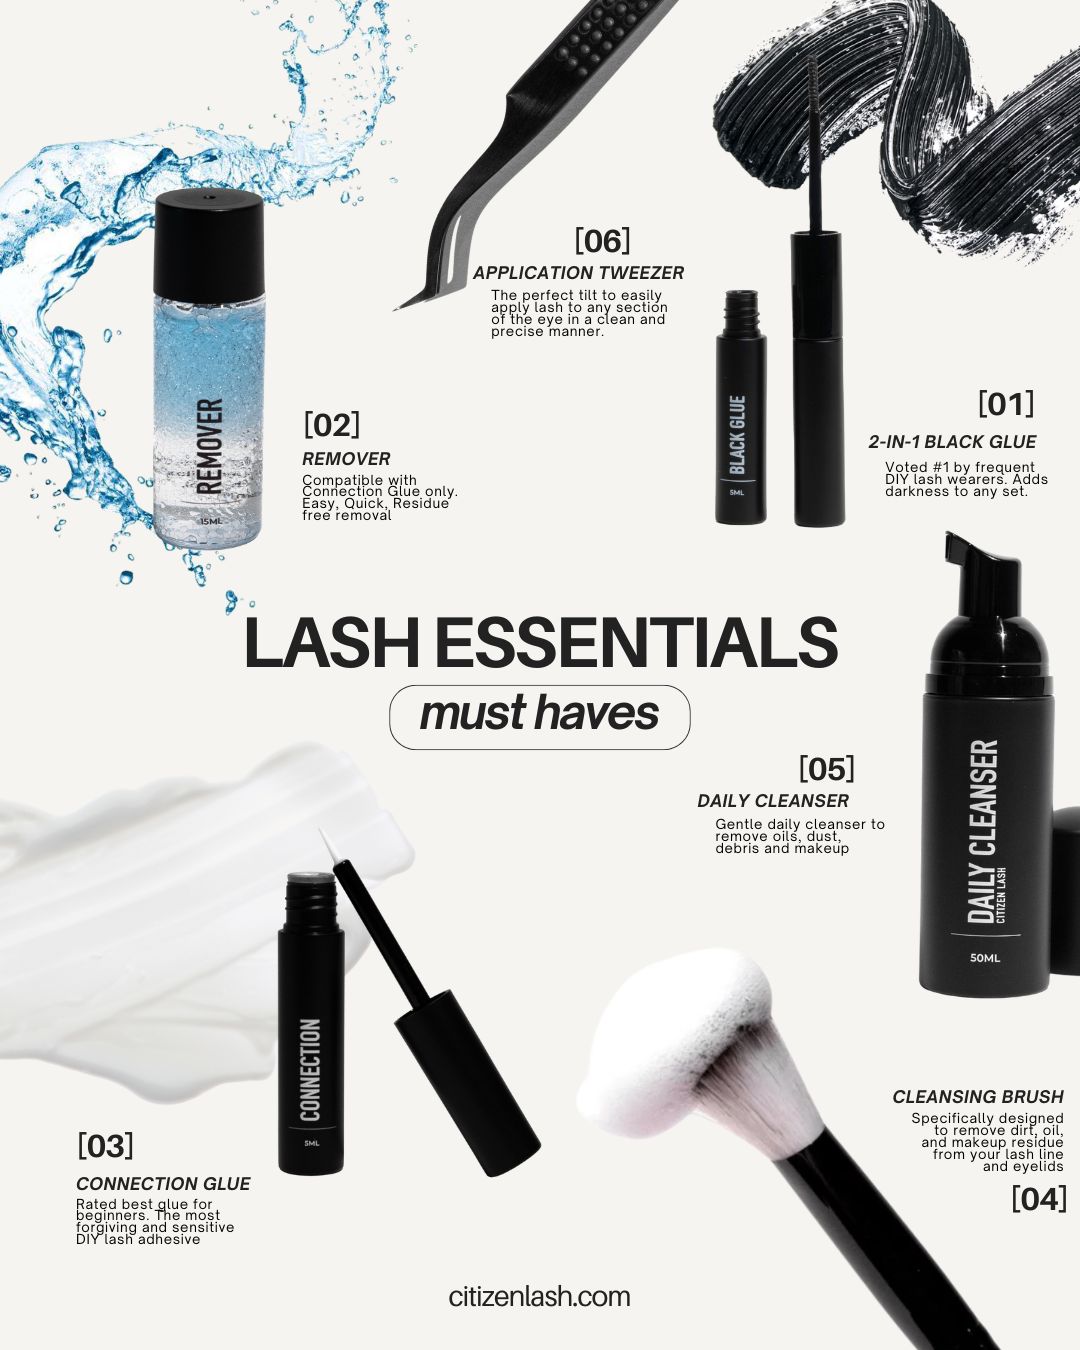
Use Daily Cleanser to remove oils, debris and makeup from the eye area. Rinse and dry.
One Day Wear:
We recommend applying a coat of mascara to your natural lashes before applying extensions to promote easier removal.
2. Apply adhesive
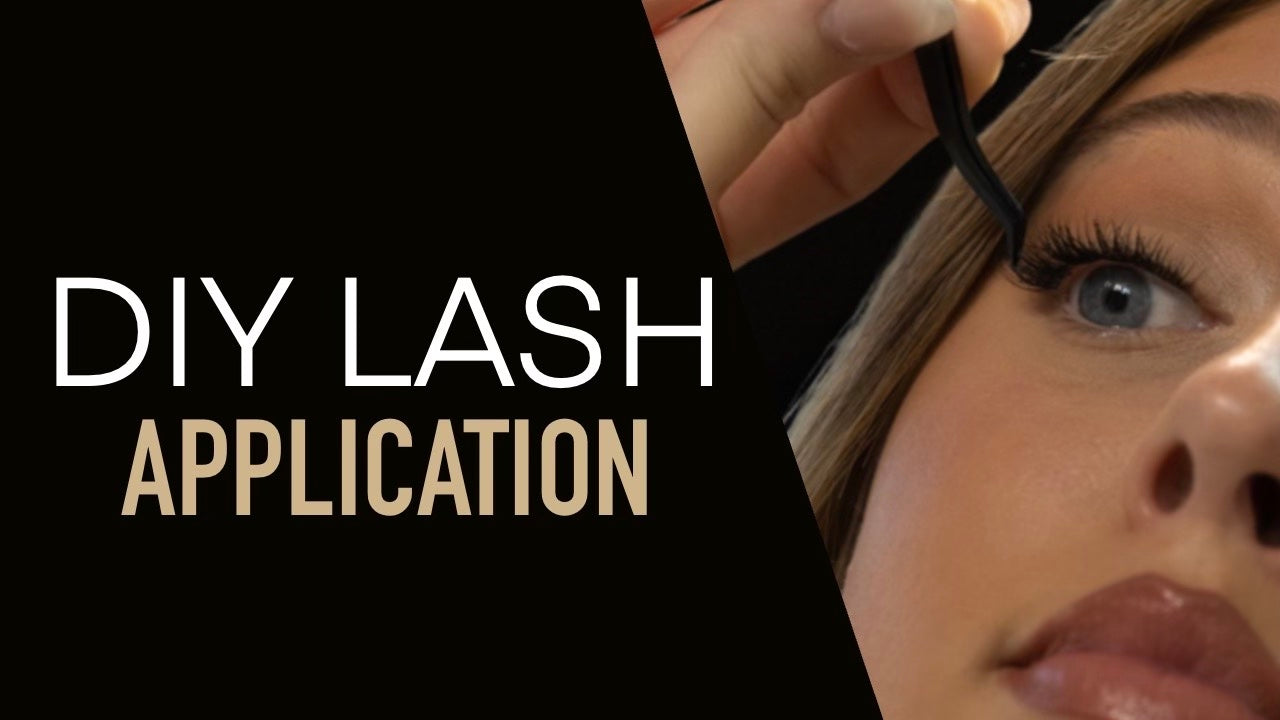
While the fan you intend to apply is still in the tray, lightly coat the entire exposed base with adhesive. We suggest starting on the inner or outer corner, working towards the opposite corner.
3. Pick up the fan
Sandwich the fan between the tweezer tips. Use pressure to grip the fan and gently lift it off the strip.
4. Prepare for placement
The goal is to line the fan up perfectly with your waterline. In order to get the proper angle for placement, you may have to adjust the fan within your tweezers. There is no right or wrong placement technique, but some people find it helpful to grip just the tips of the fan in order to easily manipulate its direction.
5. Place the fan
While looking in a mirror, tilt your head back or lift your eyelid to expose your upper waterline. Gently place the fan on the underside of your natural lashes, as close to the waterline as possible, without touching it.
Note: Mastering placement requires tricks that are best explained visually. Make sure to check your welcome email or reach out to us via email or Instagram DM for a link to our application tutorial.
6. Secure the bond
Once you are happy with your placement, secure the bond by gently pushing each fan into the natural lash using your tweezers or fingers.
We ship worldwide via DHL Express Priority. Within Canada is provided by Canada Post and Purolator.
Free shipping in North America $200 and over.
