

Citizen Lash
DIY Variety Lash Pack
Not sure which style to choose? Start here.
DIY Variety Lash Pack
Dramatic
A 10109 McDonald Park Road Sidney
10109 McDonald Park Road
Sidney BC V8L 5X5
Canada
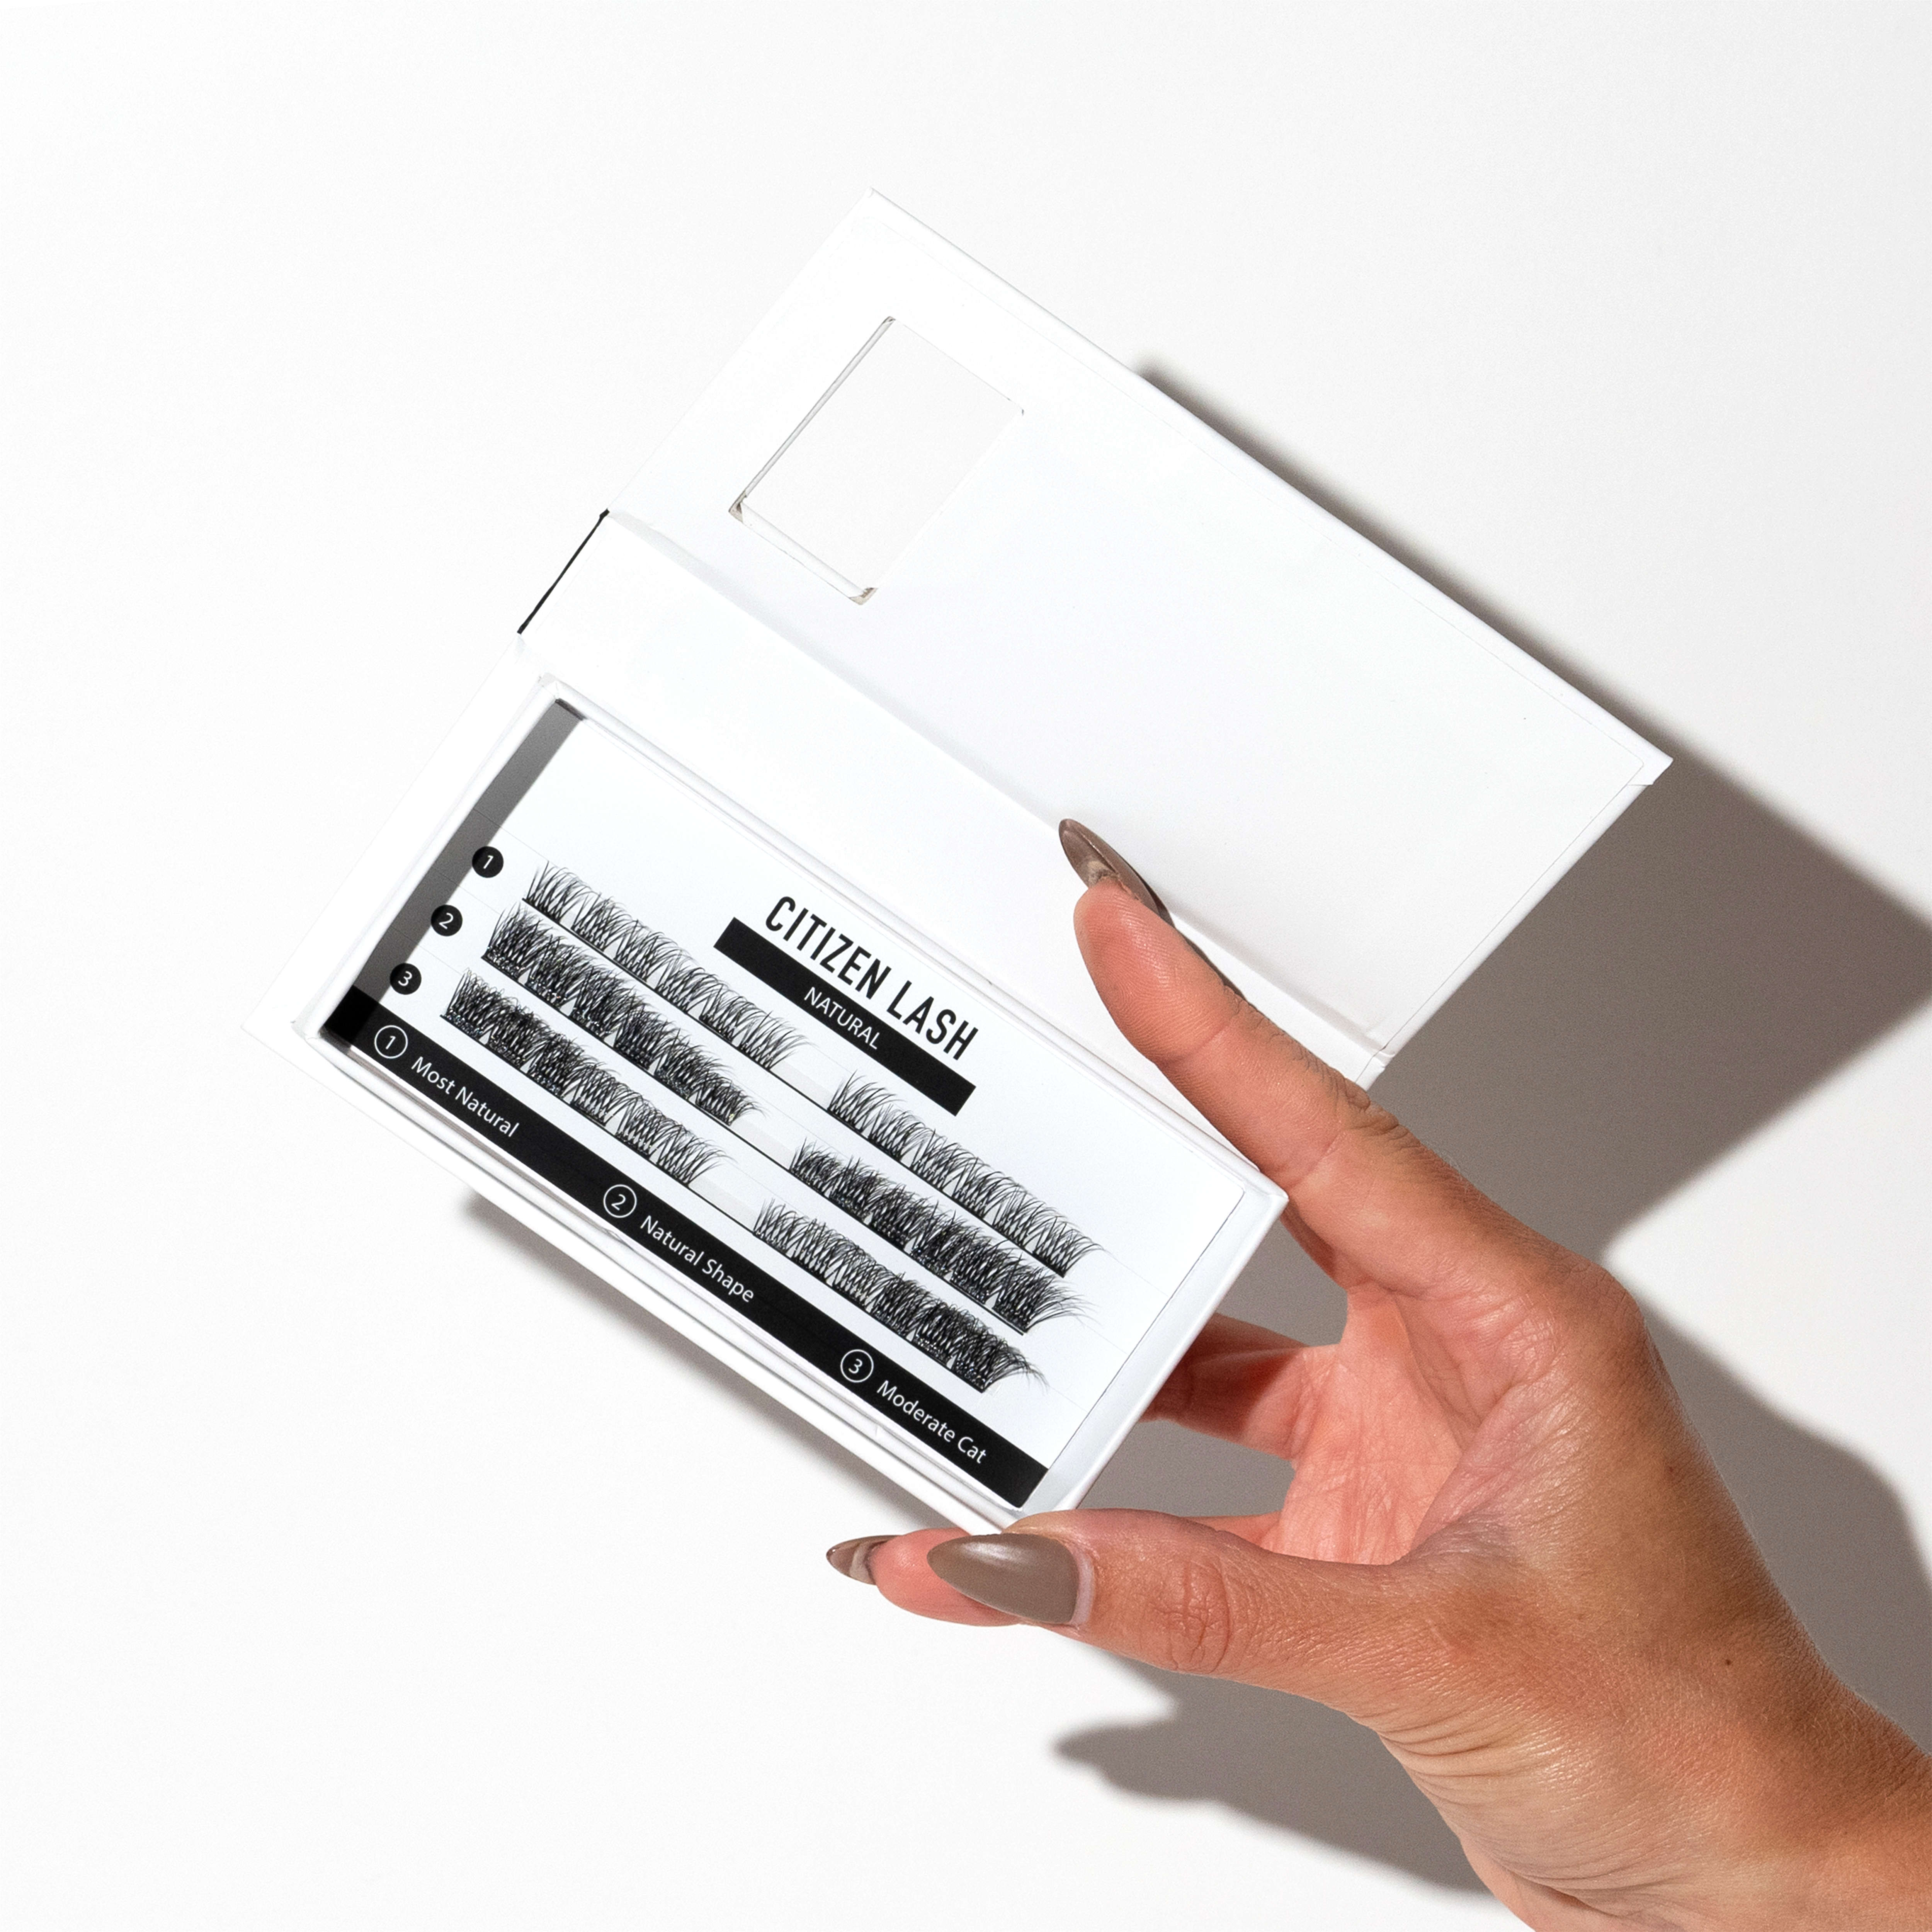
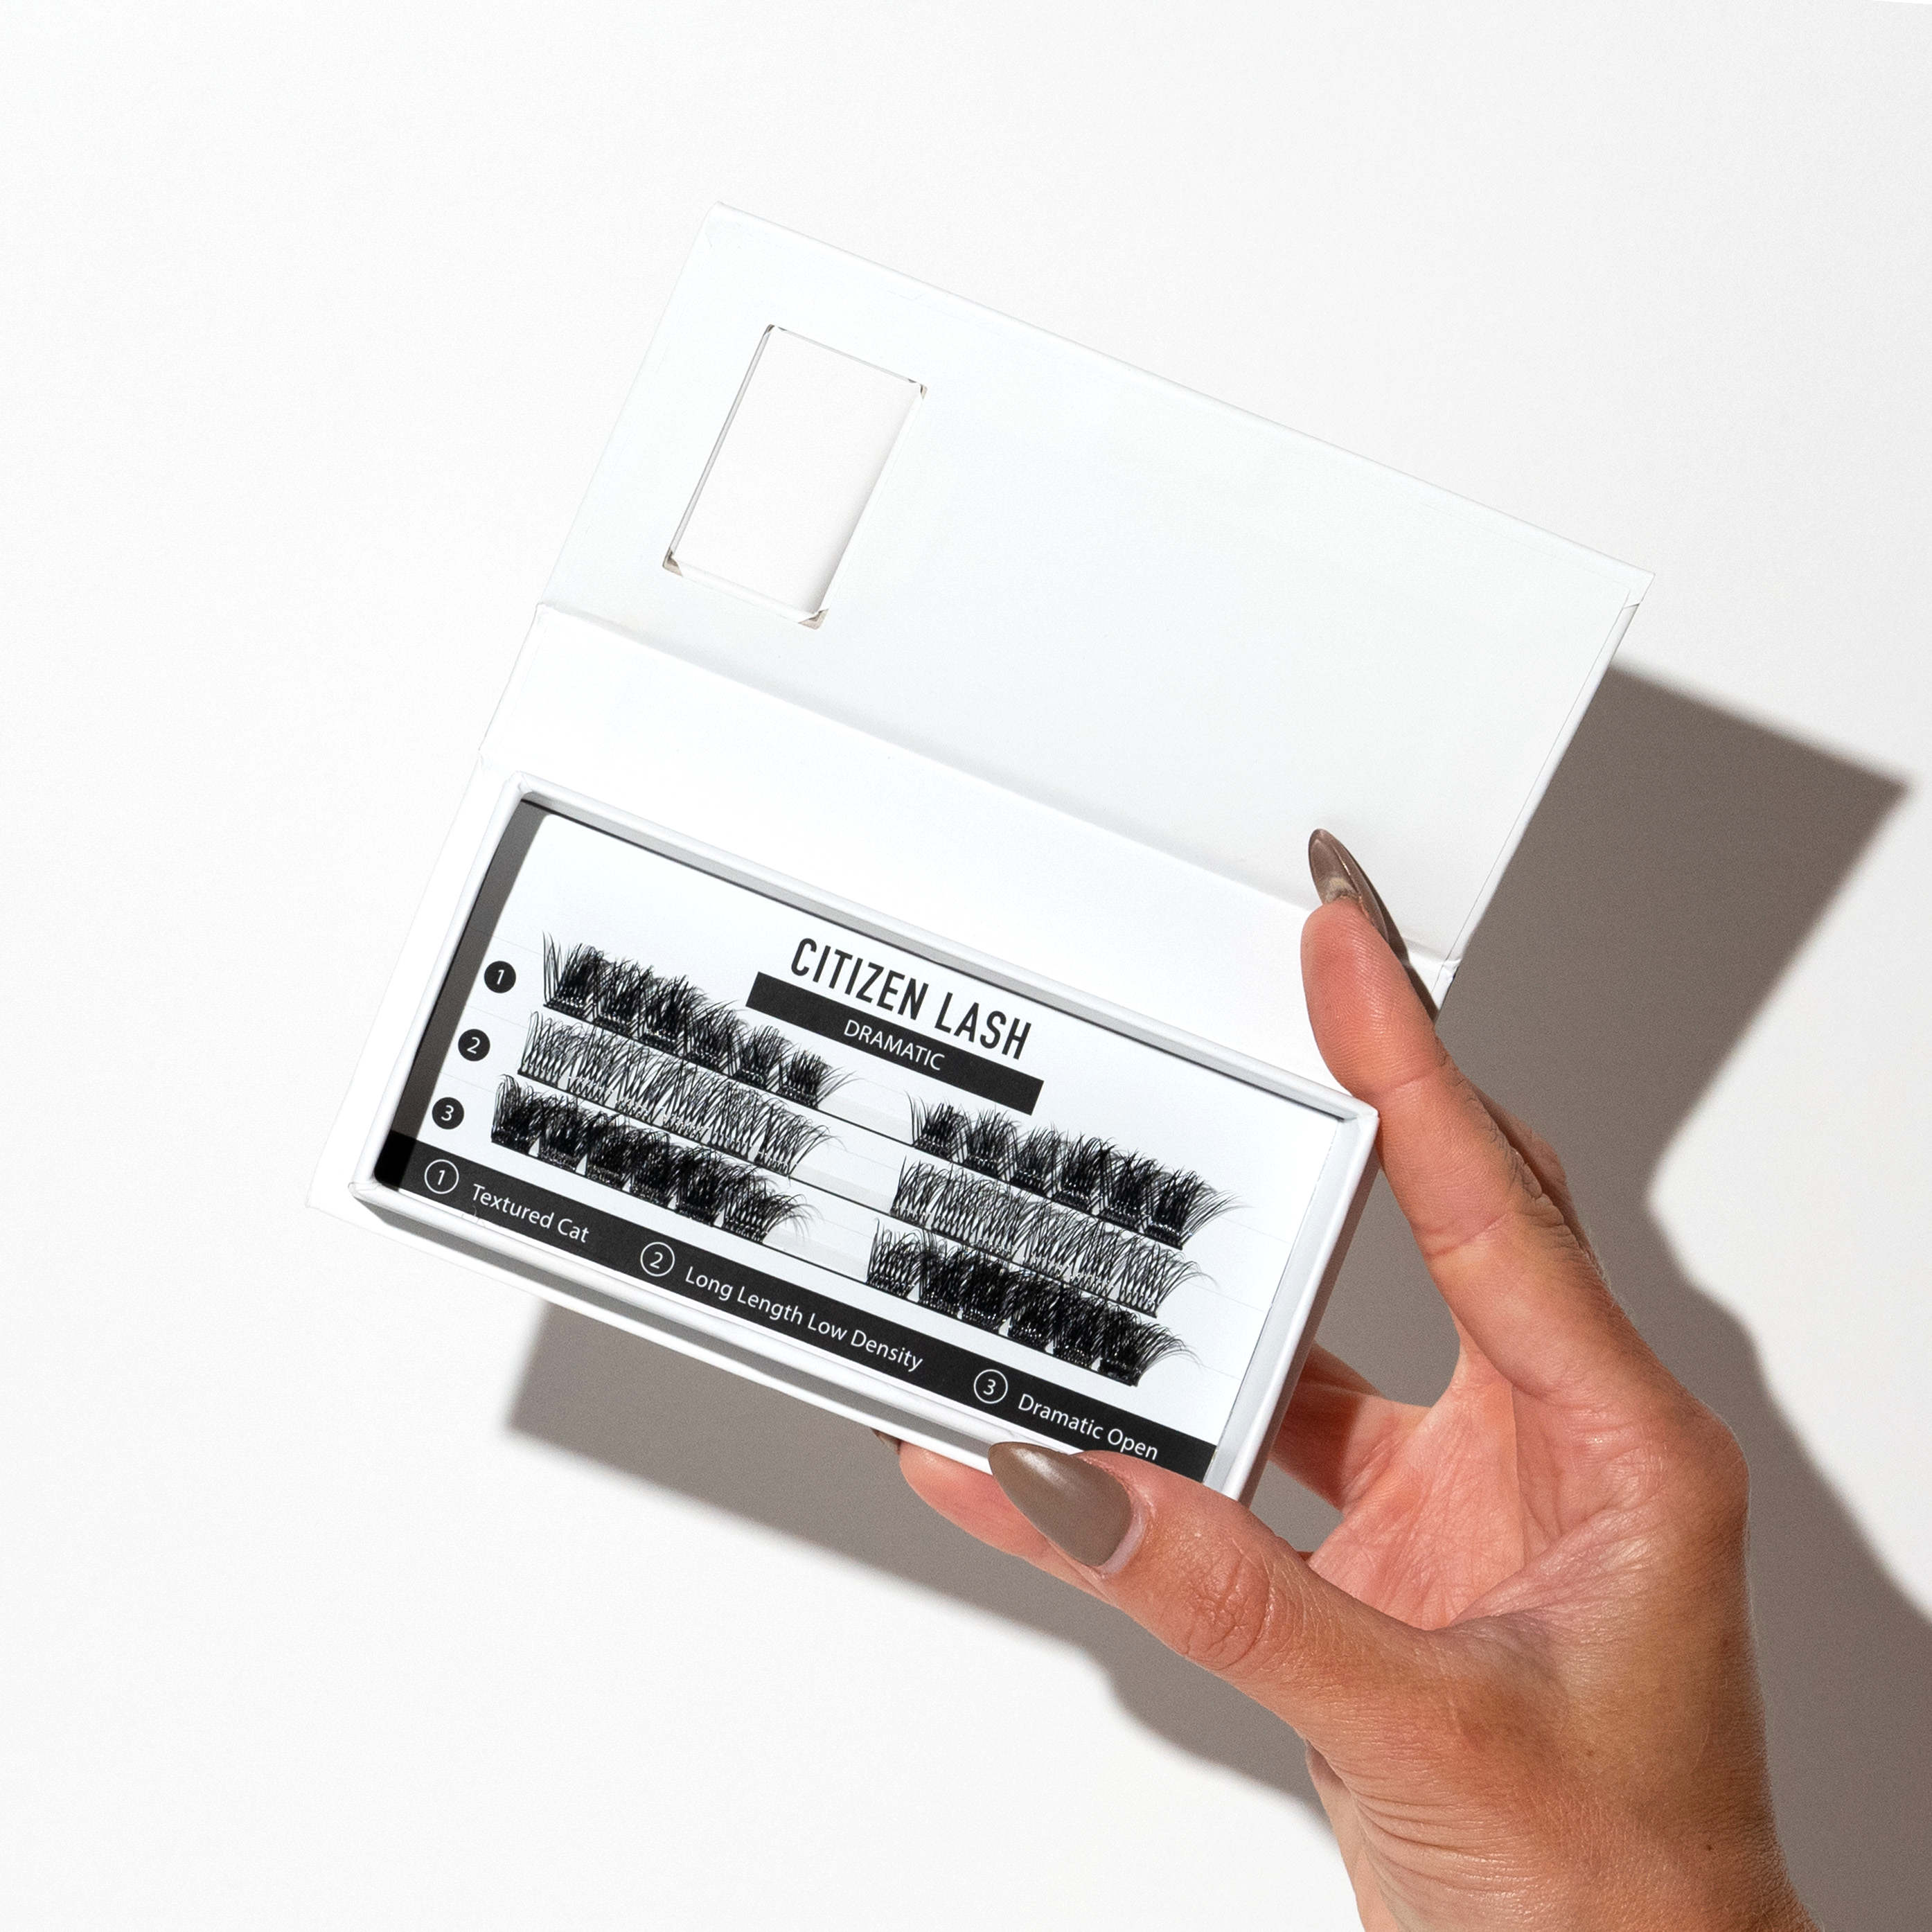
The DIY Citizen Lash Variety Pack is the perfect budget friendly sampler to get a feel for our styles without breaking the bank. Whether you're a devotee of natural lash looks or crave a dash of dramatic flair, we've created variety packs tailored to your desires. For those who want to try them all, we recommend combining our Natural Lash Lovers and Dramatic Lash Lovers variety packs to access all of our exclusive styles.
The variety pack contains three different styles. The Citizen Lash system helps to create longer, fuller looking lashes that will last up to 5 days without removal. To apply an entire lash set, place anywhere from 2-6+ lash clusters to each eye. Each lash set is reusable up to 10+ times and the learning curve for DIY lashes is not extensive, anyone can do it.
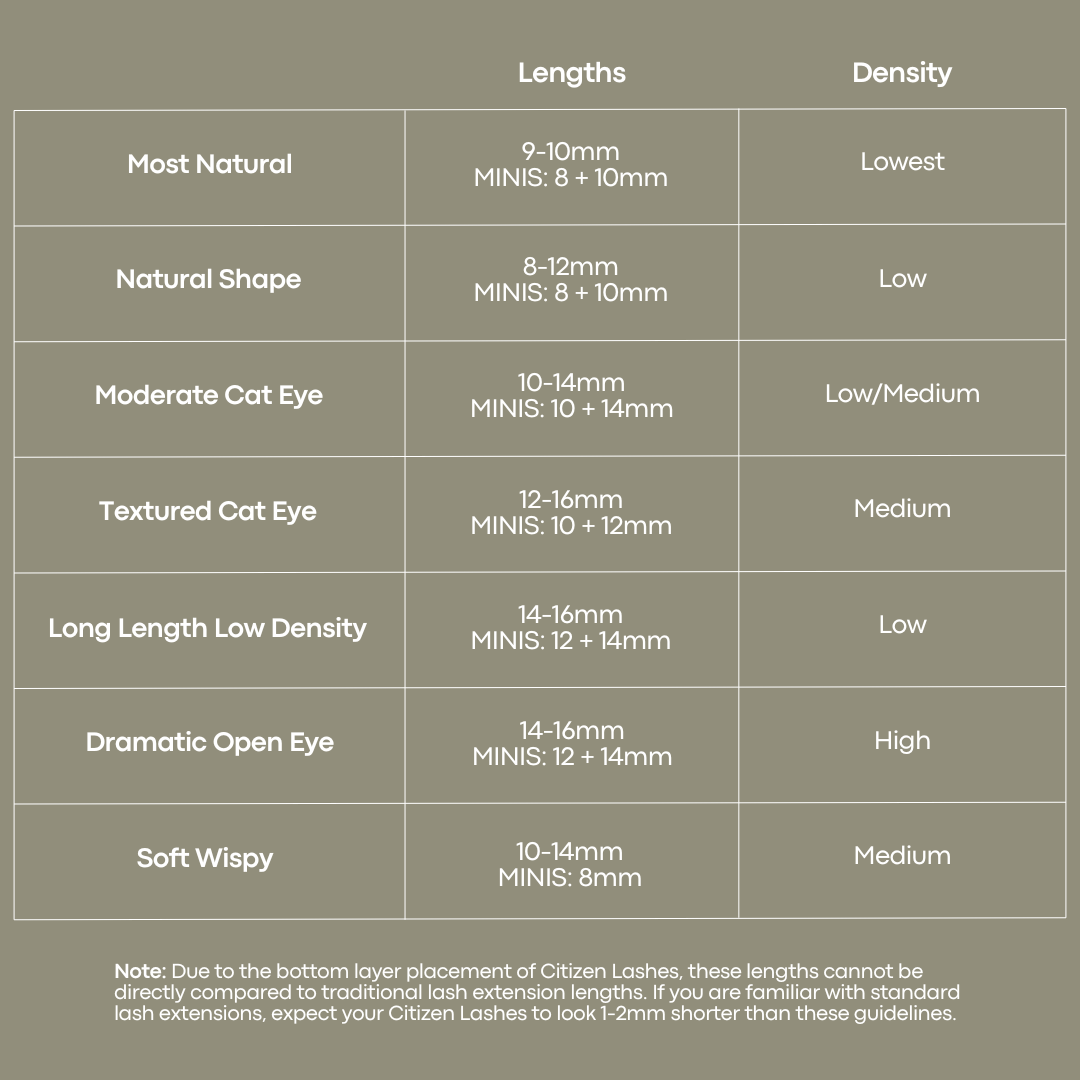
Natural Lash Lovers variety pack contains:
- Most Natural
- Natural Shape
- Moderate Cat Eye
Dramatic Lash Lovers variety pack contains:
- Textured Cat Eye
- Long Length Low Density
- Dramatic Open Eye
1. Multi-Day Wear:
Prep your natural lashes for a long lasting hold.
Use Daily Cleanser to remove oils, debris and makeup from the eye area. Rinse and dry.
One Day Wear:
We recommend applying a coat of mascara to your natural lashes before applying extensions to promote easier removal.
2. Apply adhesive
While the fan you intend to apply is still in the tray, lightly coat the entire exposed base with adhesive. We suggest starting on the inner or outer corner, working towards the opposite corner.
3. Pick up the fan
Sandwich the fan between the tweezer tips. Use pressure to grip the fan and gently lift it off the strip.
4. Prepare for placement
The goal is to line the fan up perfectly with your waterline. In order to get the proper angle for placement, you may have to adjust the fan within your tweezers. There is no right or wrong placement technique, but some people find it helpful to grip just the tips of the fan in order to easily manipulate its direction.
5. Place the fan
While looking in a mirror, tilt your head back or lift your eyelid to expose your upper waterline. Gently place the fan on the underside of your natural lashes, as close to the waterline as possible, without touching it.
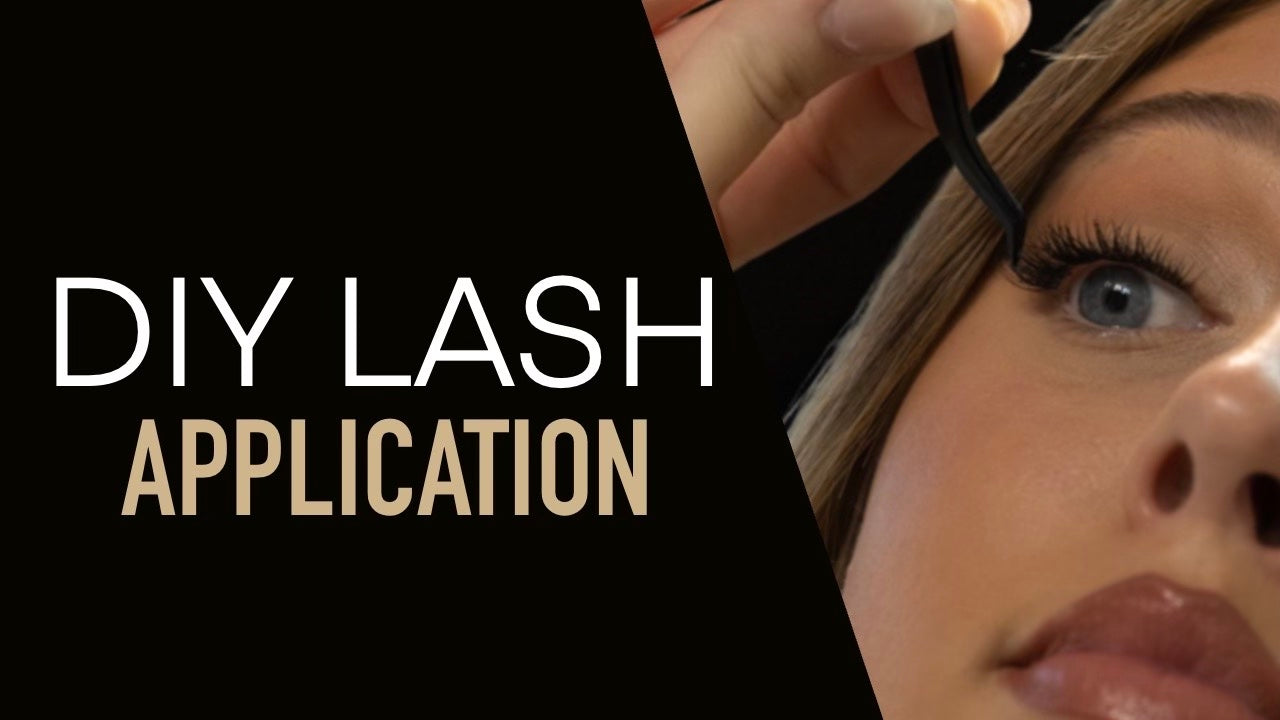
Note: Mastering placement requires tricks that are best explained visually. Make sure to check your welcome email or reach out to us via email or Instagram DM for a link to our application tutorial.
6. Secure the bond
Once you are happy with your placement, secure the bond by gently pushing each fan into the natural lash using your tweezers or fingers.
We ship worldwide via DHL Express Priority. Within Canada is provided by Canada Post and Purolator.
Free shipping in North America $200 and over.

