Citizen Lash
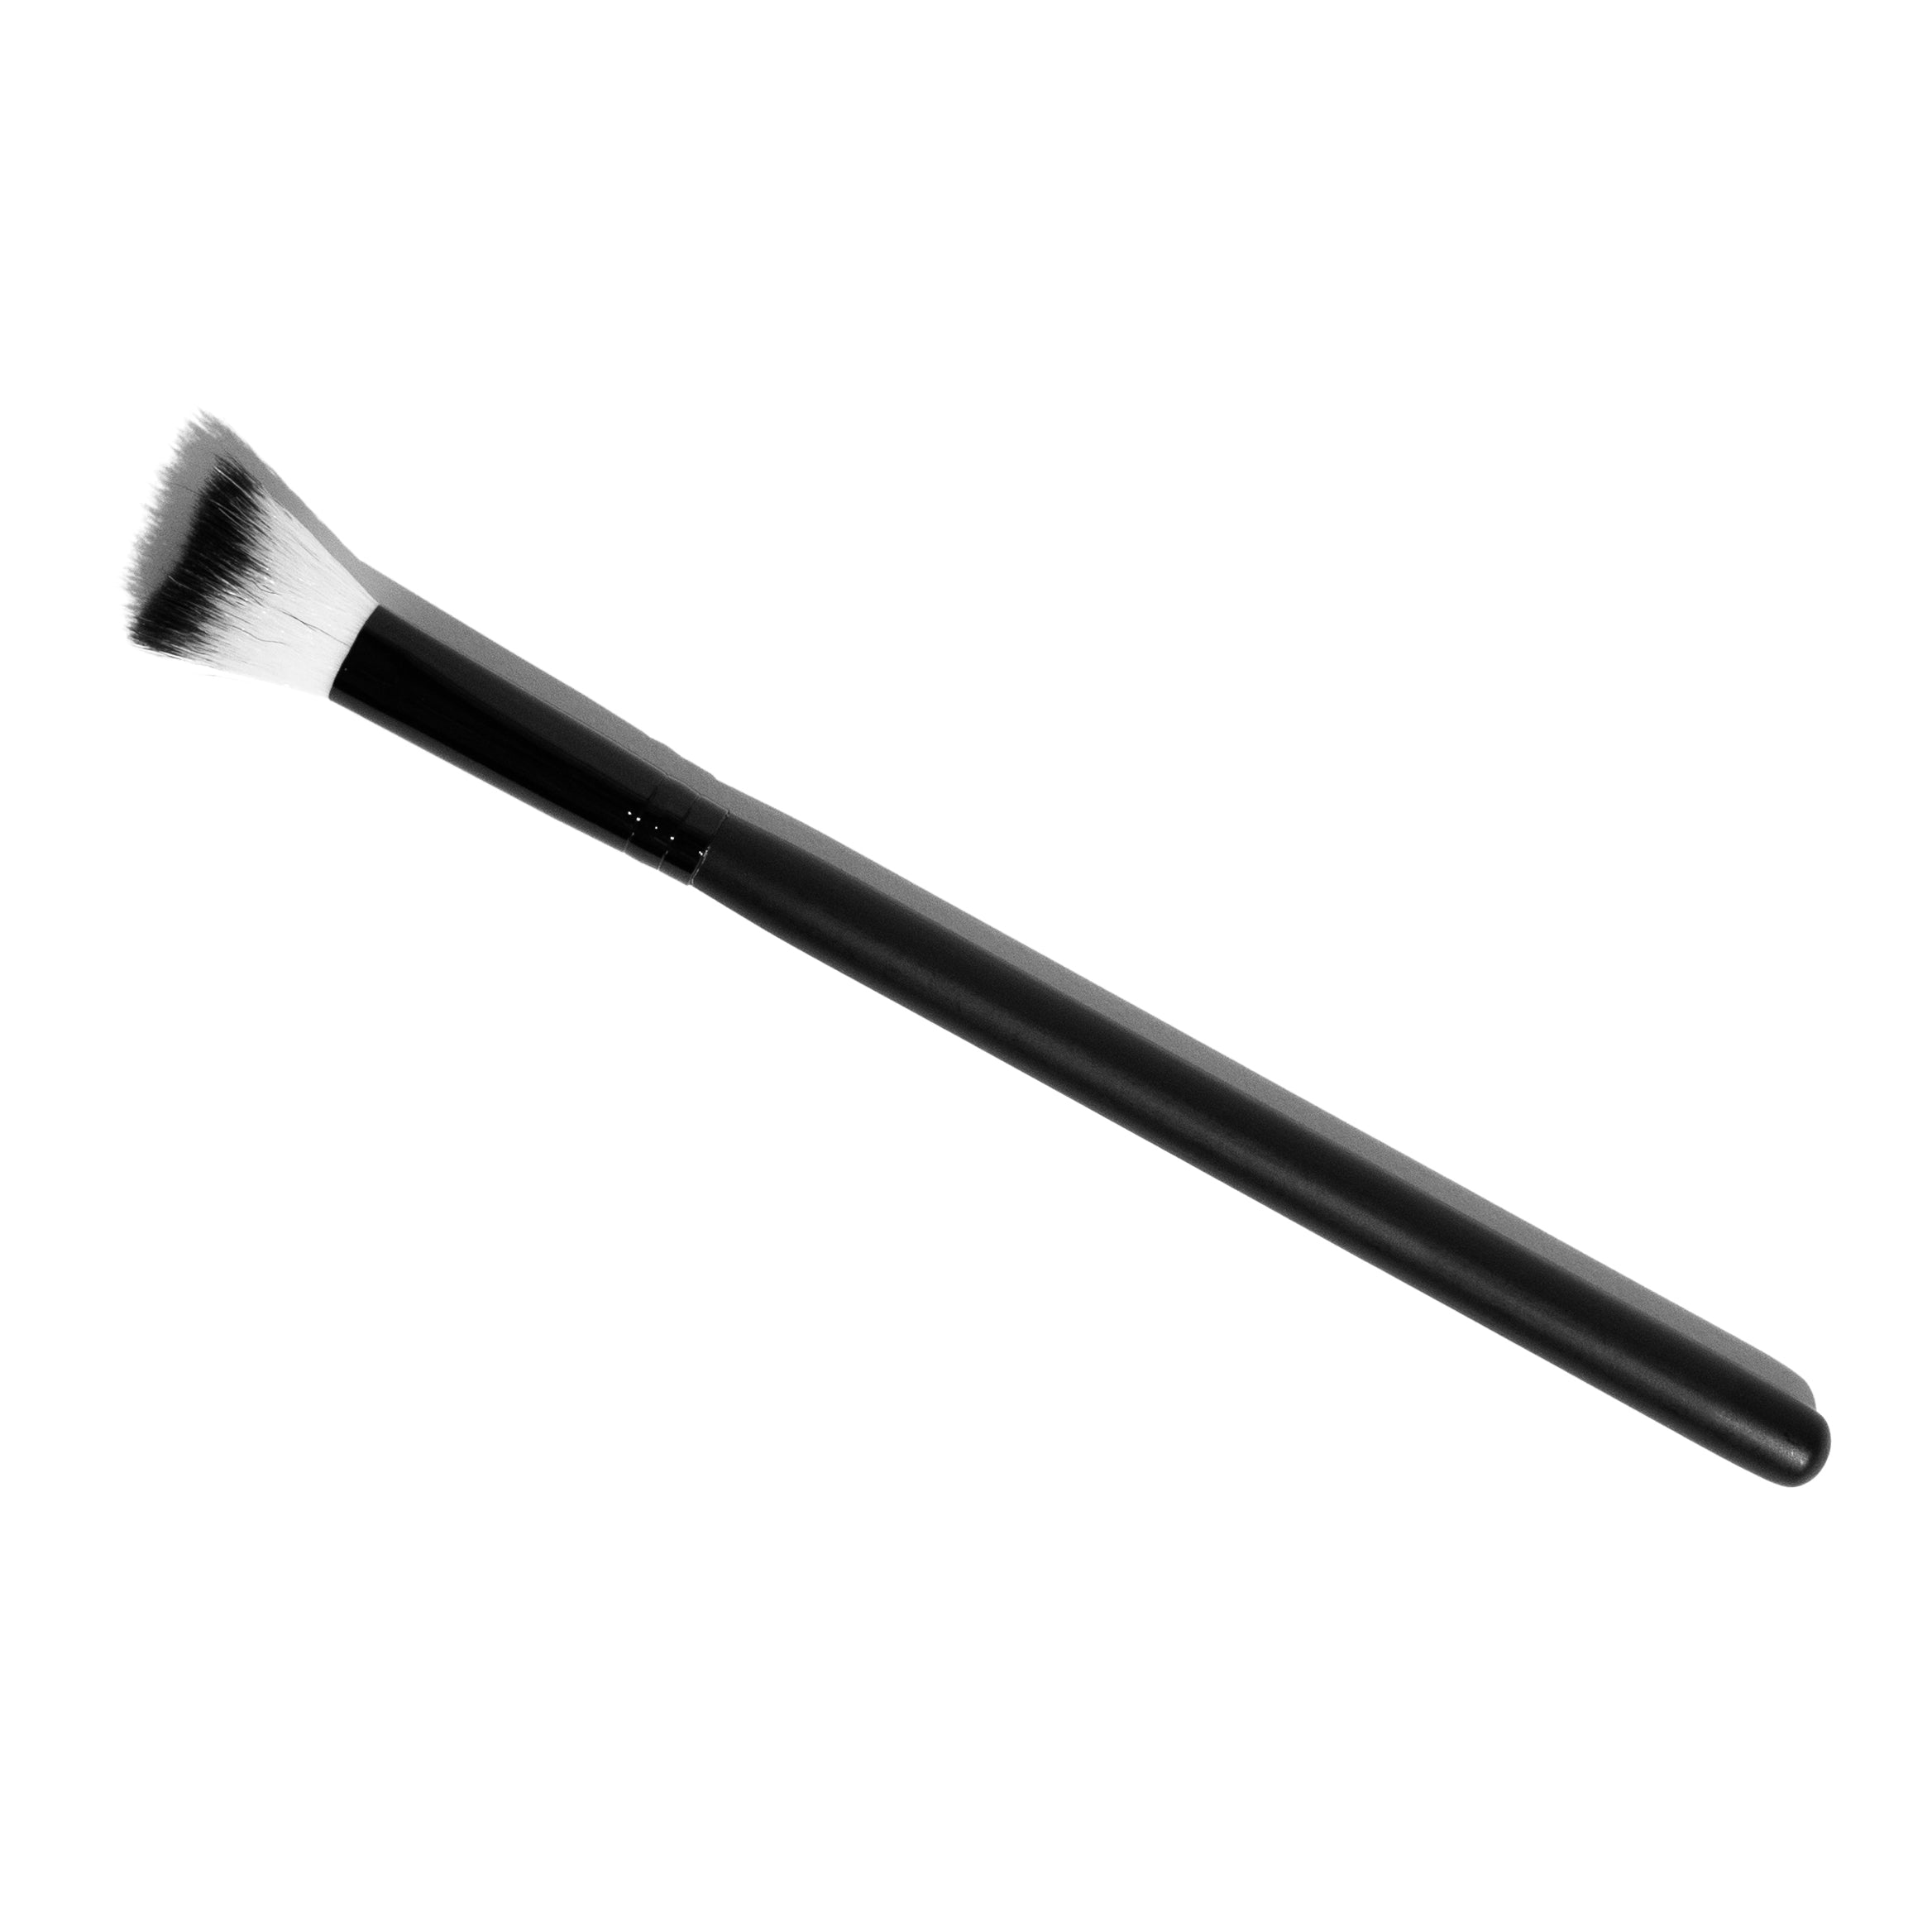
Cleansing Brush
Cleansing Brush
Individual
A 10109 McDonald Park Road Sidney
10109 McDonald Park Road
Sidney BC V8L 5X5
Canada
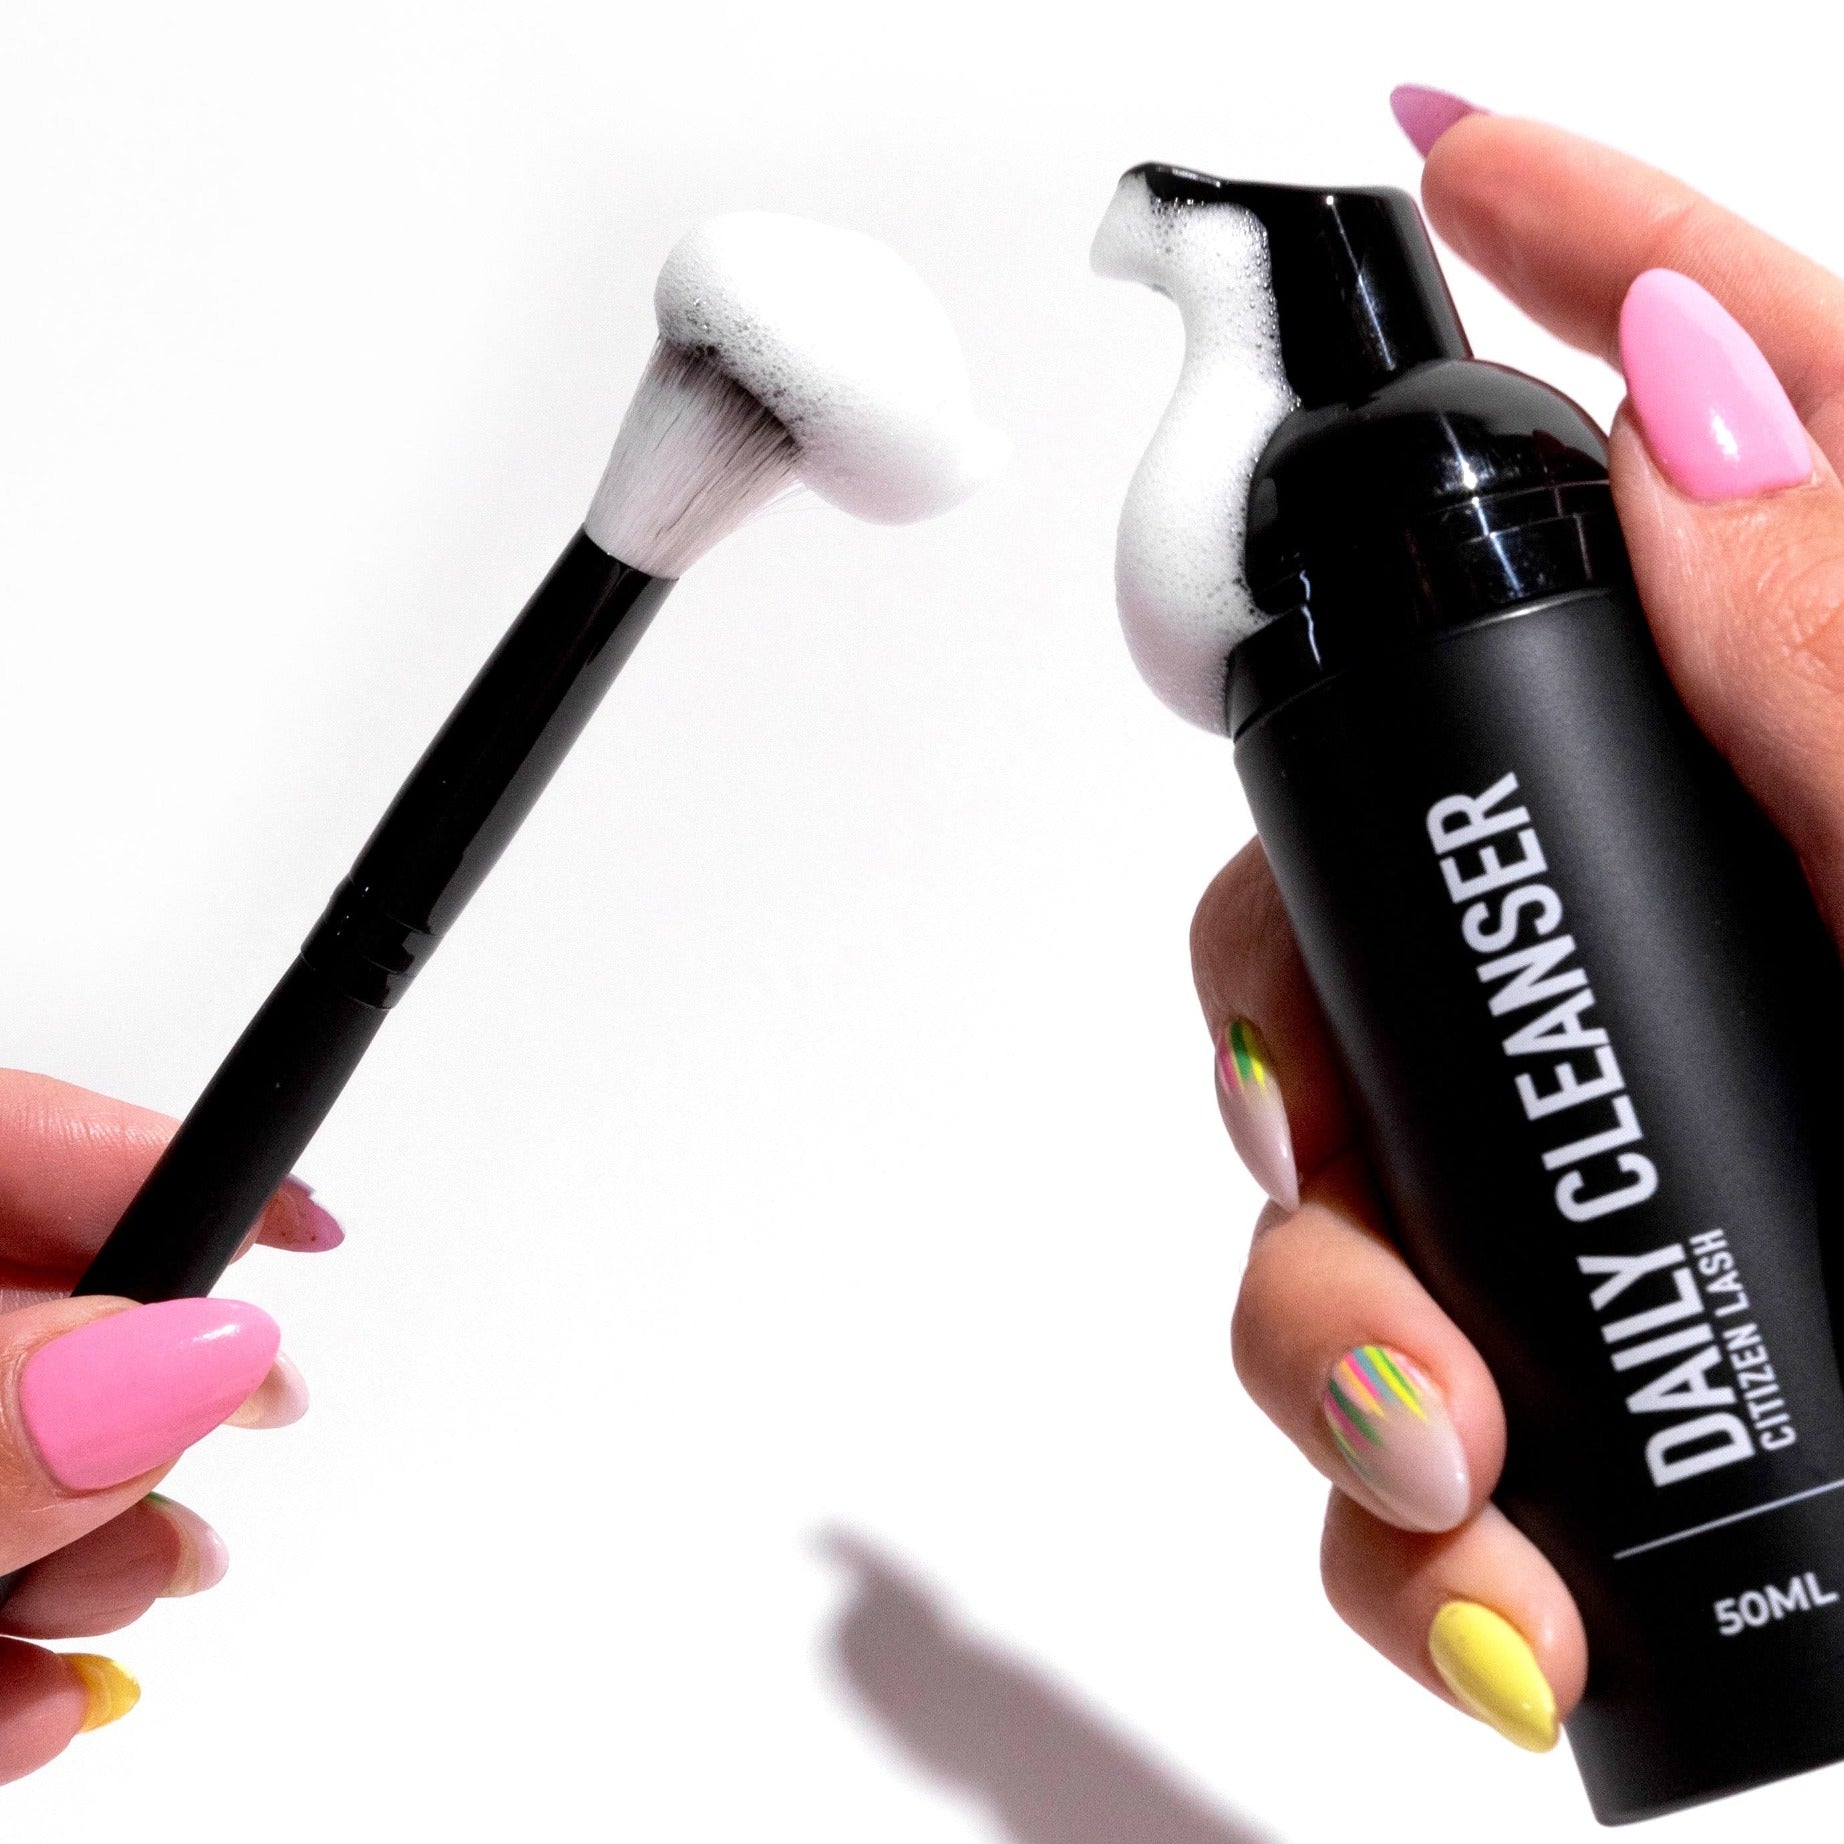
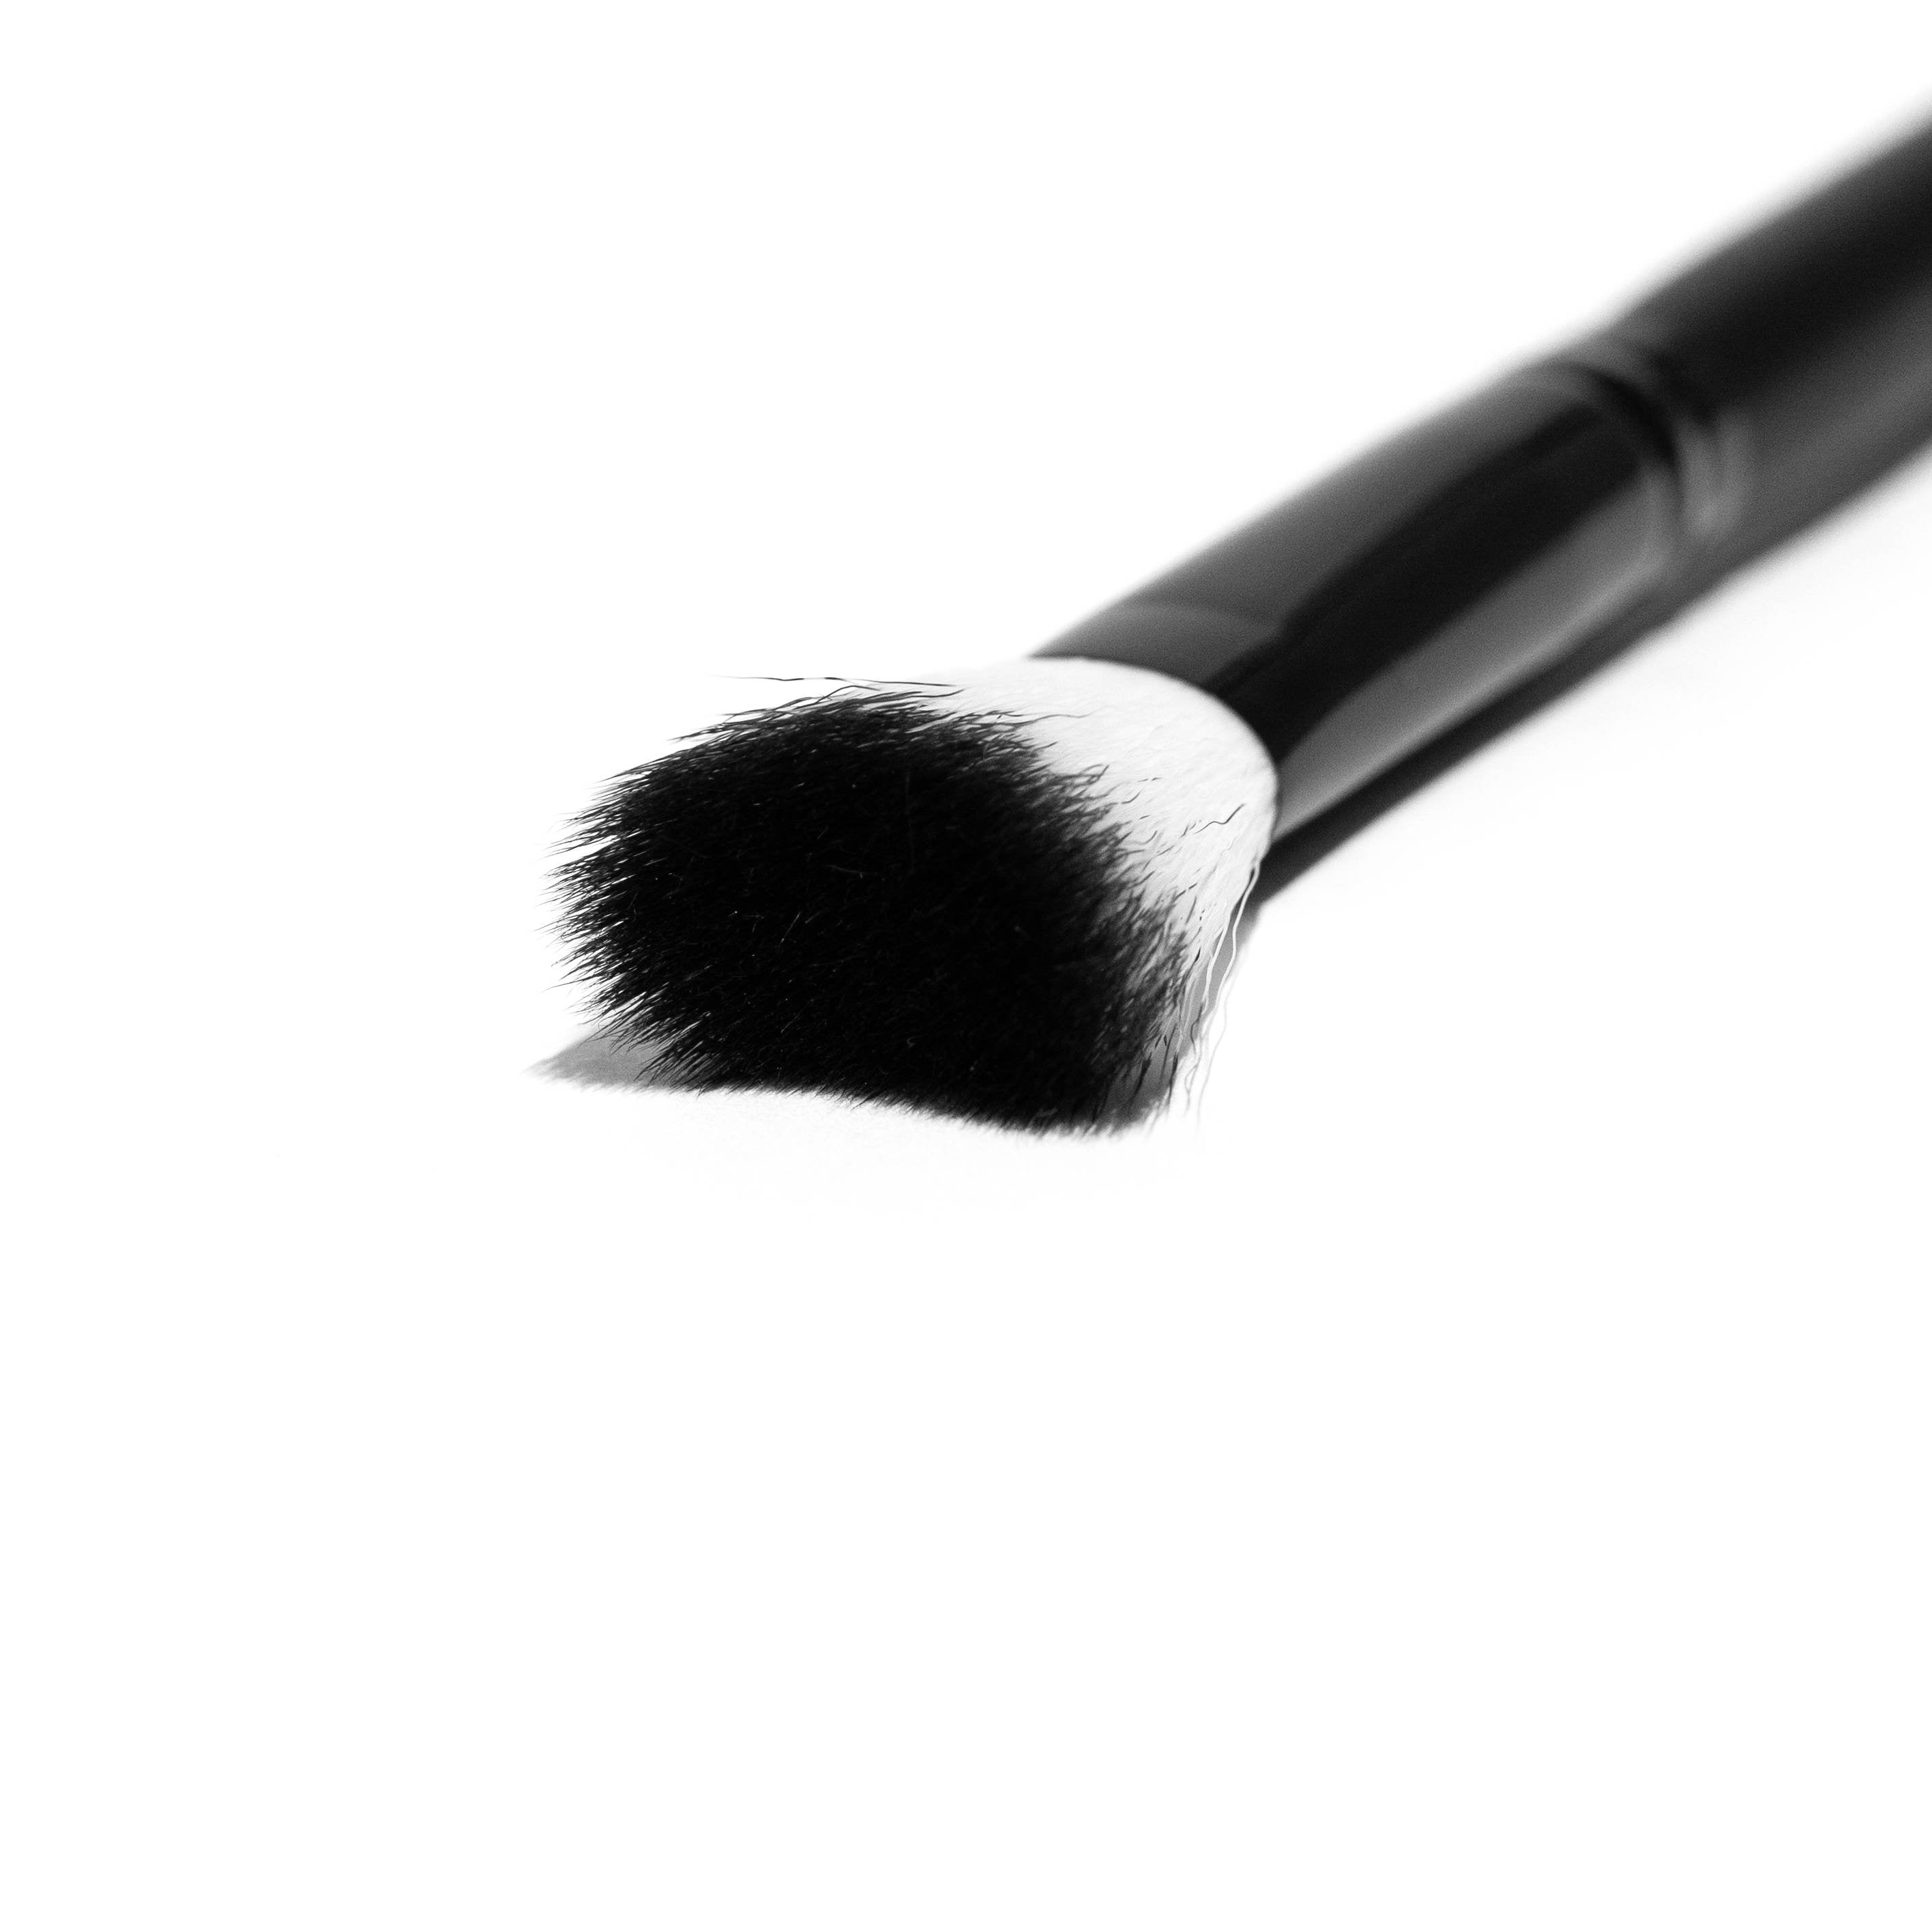
Our reusable DIY Lash Cleansing Brush is a must-have addition to your daily beauty routine when applying or wearing DIY eyelash extensions. Expertly crafted with soft, synthetic bristles that are gentle on your lashes, ensuring a thorough yet delicate cleanse, making this brush the perfect complementary tool to use with our Daily Lash Cleanser. This brush is specifically designed to remove dirt, oil, and makeup residue from your lash line and eyelids, preventing build-up and extending the lifespan of your lash set while wearing extensions for multiple days and making application easier and longer lasting when used as a pre service treatment. Regular use of our cleanser brush will help maintain the integrity of your lashes.
Directions for Use:
Pre-Service Application: Apply Daily Lash Cleanser onto the bristles of the brush then gently emulsify product onto your natural lashes and along the eyelid in a circular motion, ensuring the base of the natural lashes has been sufficiently cleaned. Rinse thoroughly with water and pat dry before applying your DIY lash extension set for longer lasting results.
As a Daily Cleanser while wearing a DIY Lash Set: Apply Daily Lash Cleanser onto the bristles of the brush then gently emulsify product onto the eyelid area and the exposed natural lashes across the top lash line in a gentle, downward sweeping motion. Rinse thoroughly with water (this can be best to do in the shower as the water can gently run over the eyelid to remove the cleanser). Gently pat dry without rubbing or pushing on the extensions to avoid prematurely removing the DIY lash set.
Click here to watch a video on how to clean your Cleansing Brush.